Upcycling: How to cover up logos on shopping totes – part 5

dscn4353

Today we will continue our popular series on how to cover up logos on bags with an example of a turtle shopping tote which we recently made. The shopping bag had a big logo on its front side which we hated and so, being turtle and tortoise nerds, we decided to hide it under a tortoise. 😀 This tortoise design is also a very good example of what one can still do even with tiny scraps of fabric, since the tortoise’s scutes (shell plates) consist of tiny remnants of fabric from other projects, which we sewed on top of each other in a decorative way using an embroidery stitch on our sewing machine. The tortoise’s shell and body parts consist of somewhat bigger scraps of fabric from old garments.

The tote also had a slogan printed on its handles, which we covered with a textile gift ribbon in a matching colour. Finally, we embroidered a face and some lettuce on our tortoise design. 🙂 In our opinion, this is a design any turtle or tortoise nerd of any age will love.

Upcycling Tutorial: How to make a turtle picture frame

DSCN2844

Today’s blog post will teach you how to make a turtle or tortoise picture frame from cardboard. 😀

You will need:

  • cardboard (enough for cutting out 3 turtle shapes per picture frame)
  • scissors and craft knife
  • glue and adhesive tape
  • pencil
  • paper
  • optional: gift wrapping paper or paint or something similar if you want to decorate your picture frame
  1. Draw a turtle shape on a piece of paper – pay attention that the turtle’s feet are on a straight line (this is where your picture frame will stand on!). Draw 2 circles inside the shell: the first, larger circle, is the size of your picture, the second innermost circle ought to be about 2mm/0.08inch smaller than your picture (so that your picture won’t fall out! 🙂 ). Cut out the turtle and draw 3 turtles on your cardboard – these will form the 3 layers of the frame.

2. Cut out the innermost circle. Lay the turtle on one of the cardboard turtles (the one you want to be the visible front layer of your frame) and draw in the small circle. Next, cut out the larger inner circle, and draw the larger inner circle on the 2 other turtles. You now ought to have one turtle with the smallest circle, and 2 turtles with the larger inner circle drawn inside.

3. Cut out the turtles, then cut out the inner circles with a craft knife. The turtle with the smallest inner circle will be your front piece.

4. Glue the three layers together – the turtle with the smallest inner circle ought to be the bottom layer. Keep one of the two larger cardboard circles you have cut out – this will be the back of your picture frame that protects your picture. Next you will need to make a stand for your picture: Take your turtle and put it on a spare piece of cardboard; draw around the semi-circle of the head; remove your turtle, then draw two vertical lines on both sides of the semi-circle so that you will have a strip with a rounded top. Cut out the strip. For a simple stand, your strip ought to have a length that is slightly shorter than the frame, so ideally, the strip ought to reach from the top of the head to just above the turtle’s tail. For extra stability, you can make your strip longer than the actual picture frame and then fold it into an L-shape just above the line where the tail starts. Glue the strip to the head (if you have an L-shaped stand, the bottom line of the L ought to face inwards towards the picture).

5. Your picture frame is now ready. If you want, you can decorate your frame, e.g. cover it with gift wrapping paper or painting it or gluing decorative elements to it. Insert your picture and cover it with the cardboard circle which you kept – fasten it with adhesive tape across the back circle. If you want to protect your picture, you can cut out a plastic circle out of some transparent plastic foil and put it inside the frame before you add the picture.


Upcycling: Turtle jersey rag rugs

Today’s blog post features another two upcycled turtle/tortoise rag rugs which  we made from old T-shirts or ‘tarn’ (T-shirt yarn). 🙂

The one in the blue-green shades measures about 50cm in diameter, the other one in reddish colours is a bit smaller and measures about 40cm in diameter.

Both rag rugs were made from 7 T-shirts (or jersey garments respectively). For a fat bathroom rug, tarn of 4cm/1.5inch width is best. You can also use tarn of a smaller width, but then your rug will be rather thin and not so comfortable to stand on. For one rug you will need about 7 T-shirts (or other jersey garments); if the garments have long sleeves or long legs, 6 pieces might be enough. If you want the turtle’s head and limbs to be of the same colour, then you will need 8 or 9 T-shirts.

The rugs were crocheted and it takes about 3.5 hours to make one (more if you have to cut your garments into tarn strips first). Use the tarn/colour you have the least material of for your central circle, and the tarn you have the most of for the edge of the rug.

(For a tutorial on how to make tarn, see a previous blog post of ours 🙂 ).


Upcycling: Turtle ‘tarn’ rug (how to upcycle T-shirts)

DSCN1623

Today’s blog post features a turtle or tortoise rug which we crocheted from old T-shirts. 🙂

To do this, you will first have to make ‘tarn‘, which is short for T-shirt yarn. To make tarn, you will need several old T-shirts. First cut off all the parts that you do not want to have in your yarn, like the edge of the neck or any seam. Then cut the T-shirt into stripes of roughly the same width: for tarn that is about 1 cm (0.35 inch) wide (which makes a thin rug or potholder), cut parallel stripes into the T-shirt from one side that are 2 cm (0.7 inch) apart. However, it is important (!) that you don’t cut the T-shirt through the whole length but leave a continuous edge at the far side (your half-cut tarn ought to look a bit like a comb – one continuous edge from which the cut stripes originate). When you have cut the whole width of your T-shirt, turn your ‘comb-shaped’ T-shirt around, the continuous edge now facing towards you. Each of the stripes is still 2 cm (o.7inch) wide. Now cut these 2cm-wide stripes in half, starting from the continuous edge and leaving another continuous edge at the end of each stripe, so that you will have a continuous yarn. (If you cut the stripes through by accident or error, you will have to sew them together into a long piece of yarn!). If you want to have a really thick rug, make thicker tarn: our rug in the photo was made from tarn that is 4cm wide (1.8 inch), so each initial stripe we cut into the T-shirt was 8cm (3.25inch) wide. The turtle rug was made from 5 T-shirts (size L).

When you have made your tarn, crochet or knit your tarn into your desired shape, mixing and matching tarn of different colours as you please, e.g. creating a rainbow or stripe design. 🙂

Upcycling: turtle toiletry or first-aid bags made from denim clothes

DSCN1427

Today’s blog post is about upcycling old denim clothes – trousers, jeans, jackets or shirts – into toiletry bags. Denim fabric is ideal for this type of bags since it is sturdy and so can hold also pointed tools like brushes, scissors, pincers or the like, without being damaged. And, of course, it is quite good-looking! 🙂 These bags are also ideal for storing medical supplies and first-aid kits.

The body of the bags consist of reclaimed denim fabric from old clothes whose fabric is still in good condition. Their zippers are also reclaimed from other clothes. For a more interesting design, we chose zippers in a contrasting, but matching colour. The bags are fully lined with a cotton lining in a contrasting or similar colour as the external body of the bag, which was also reclaimed from old shirts or other clothes. Optionally, the lining can be made with several small pockets to hold small items.

The heads of the turtles are stuffed with fabric rests from the same material as the turtle was made of (those denim scraps which could not be used for other upcycling projects like the seams from the denim clothes or fabric scraps that were too tiny to make something else from them). So these bags are truly completely ‘zero-waste’ items, plus the identical filling means that they can be washed without the risk of them becoming dyed by other fabric scraps in the process.

These bags are intended for all turtle-lovers, adults as well as kids of all ages. 😀

Upcycling:bag for clothes-pins made from an Indian dress

DSCN1424

Today’s blog post is about upcycling textiles and old clothes again. More precisely, we made a bag for clothes-pins from an old Indian dress.

The dress was a bit difficult to upcycle because it had embroidery all around its neck opening and along the cuffs of its sleeves as well as an opening with no buttons, which we did not want to destroy, but which were difficult to incorporate into a more ‘ordinary’ upcycling object. So we came up with the idea to leave the embroidery with the non-closable opening as it is and turn it into a small bag for clothes-pins, for which just such an opening is ideal. 🙂 Since we love turtles and tortoises, we designed the bag as a turtle. 😀

Tutorial: How to make an oriental-style turtle or tortoise ornament (or how to upcycle a textile ribbon)

DSCN1308

Today’s blog post will show you how to upcycle a textile ribbon and how to make an oriental-style turtle or tortoise ornament. Making one turtle or tortoise takes about 90 minutes.

You will need:

  • textile ribbons
  • scraps of fabric – either in a colour matching your ribbon or a contrasting colour
  • needle and thread
  • filling of some sort (e.g. fibres, scraps of fabric or even paper would be possible, depending on what you want to use the turtle ornament for)
  • beads and/or sequins for the eyes
  • optional: sewing machine for sewing together the turtle or tortoise’s limbs – the turtle has to be assembled by hand though, using a sewing machine for it would destroy or damage the ribbon!!

DSCN1280

Instructions:

  1. Take your ribbon and sew it into a rosette. (Sew along one of the edges of the ribbon, then pull the thread until the ribbon is round; sew the short sides of the rosette/ribbon together). Take a square piece of your ribbon and sew it onto the middle of the rosette, over the crinkled edges of the ribbon.
  2. Take some scraps of fabric and sew a shell, a head, a tail and four limbs for your turtle or tortoise (see in the photo above). The shell of your turtle or tortoise ought to be about 2 cm/1 inch smaller than your rosette. Turn the body parts inside out, fill with the filling of your choice, then sew the turtle together.

DSCN1282

3. If you want to adorn the shell, sew a length of a thin ribbon around the centre of the rosette now.

4. Now sew the rosette onto the shell of your turtle or tortoise. The rosette shell ought to project about a cm (0.3 in) all around the turtle’s shell to make a frizzy or crinkly edge.

DSCN1301

5. Now sew another length of thin ribbon around the shell of your turtle or tortoise.

DSCN1308

6. To finish your turtle or tortoise ornament, sew a length of thin ribbon around the neck and around each of the limbs. If you like, you can also make a small rosette from the thin ribbon and sew it onto the tortoise’s or turtle’s head. Finally, make the eyes by sewing two sequins and/or beads to the sides of the head. Attach a piece of string to the middle of the shell if you want to hang up your ornament. Enjoy! 🙂

Upcycling: Hiding logos and how to embellish cloth bags

bag green

Since our posts about how to hide logos and advertising messages on shopping bags are so very popular, here another example of a cloth shopping bag we upcycled (modified) a bit to make it more beautiful. 🙂

The bag had a large company logo and slogan printed on its straps, which we hid under a satin gift ribbon in the same colour. If you want to hide a company name or slogan, but a ribbon in the exact same colour as your bag is not available, it is often best to deliberately choose a contrasting colour that is different from the colour of the bag since this will often give the most interesting visual result.

As the shopping bag was a bit plain, we embellished it with some sea turtles which we cut out of small scraps of fabric. 🙂

DIY bottle covers/bottle bags for aluminium bottles

DSCN0749

Today’s blog post features another, better photo of the bottle we used for the tutorial last week, plus a photo of another bottle cover we made from fabric scraps. The red bottle in the picture was made from fabric scraps that were ‘difficult’ to find a reuse for and which were unsuitable for ‘normal’ sewing and upcycling projects, because the scraps were from discarded sports garments that had a water-proof coating on the backside of the fabric. For making a cover or bag for a reusable water bottle, these scraps were ideal though. 🙂

Tutorial: How to make a cover bag for an aluminium bottle

DSCN0716

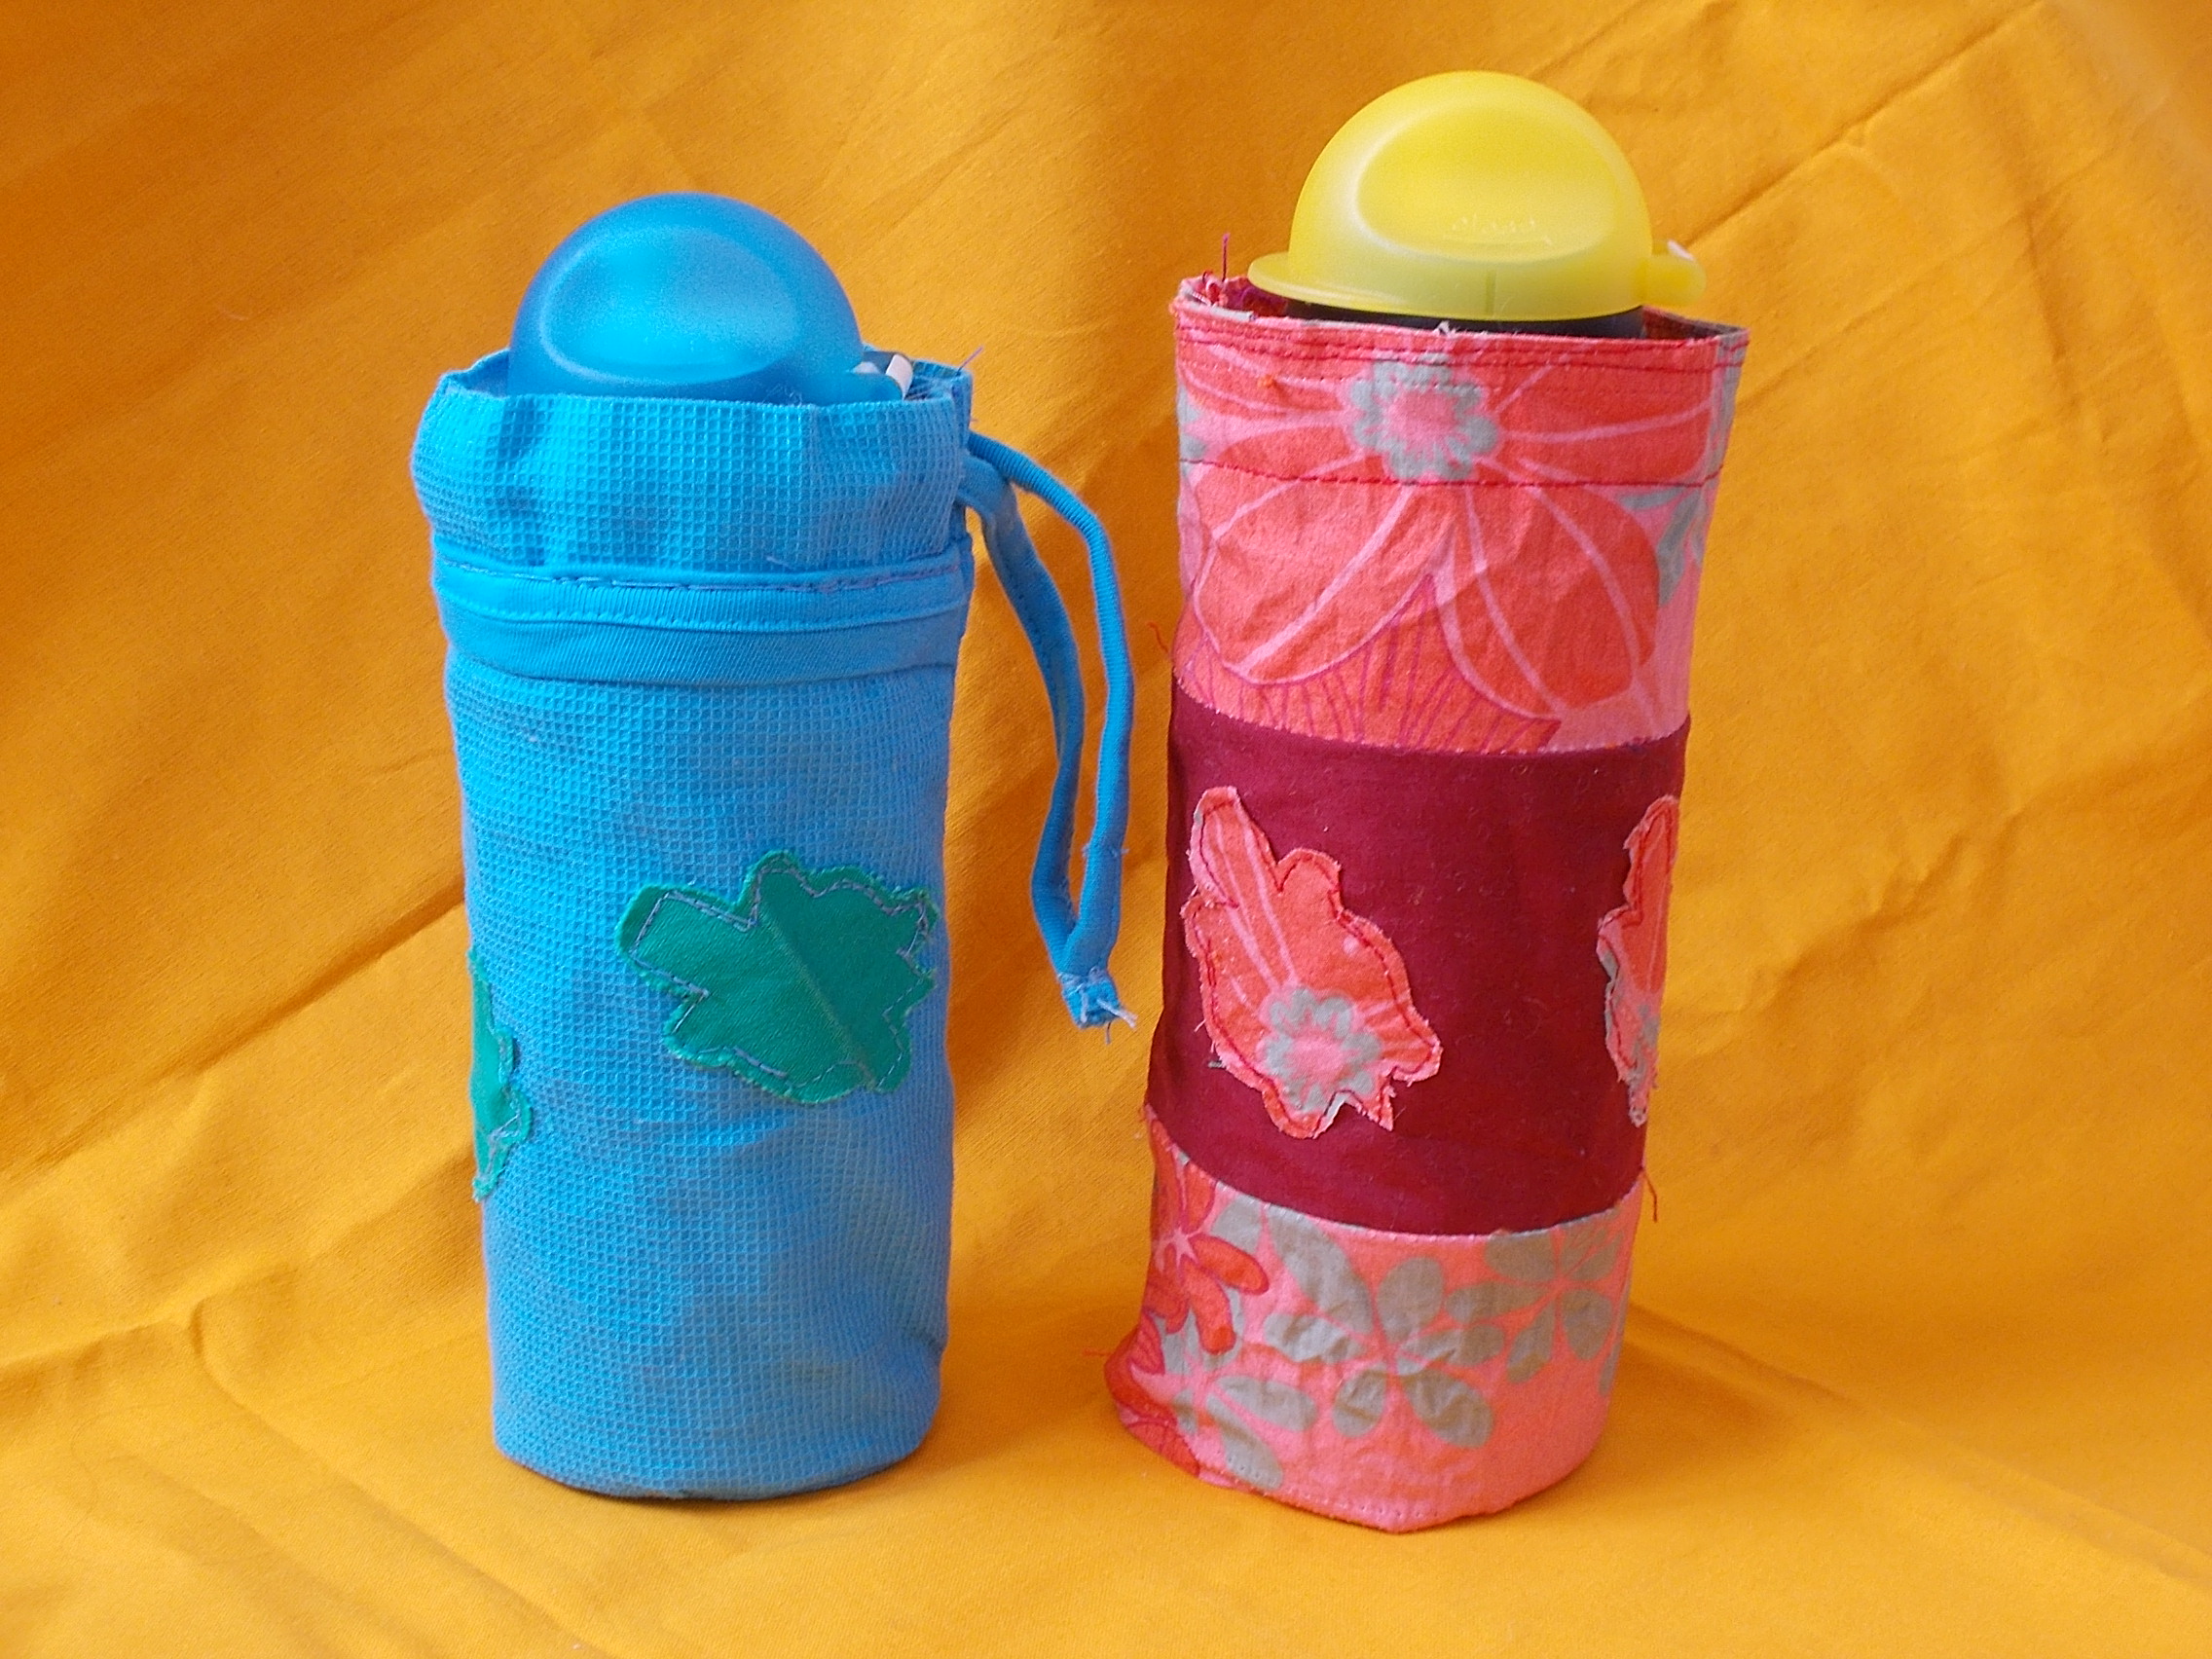
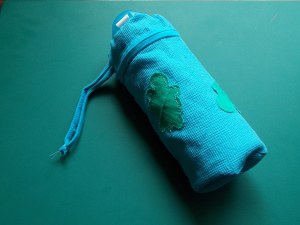
Today’s blog post is about another upcycling project, namely about how to make a cover or bag for an aluminium water bottle from scraps of fabric. 🙂

You will need:

scraps of fabric for the bottle cover

tiny scraps of fabric for a design of your choice

a cord or ribbon

sewing machine (optional)

DSCN0700
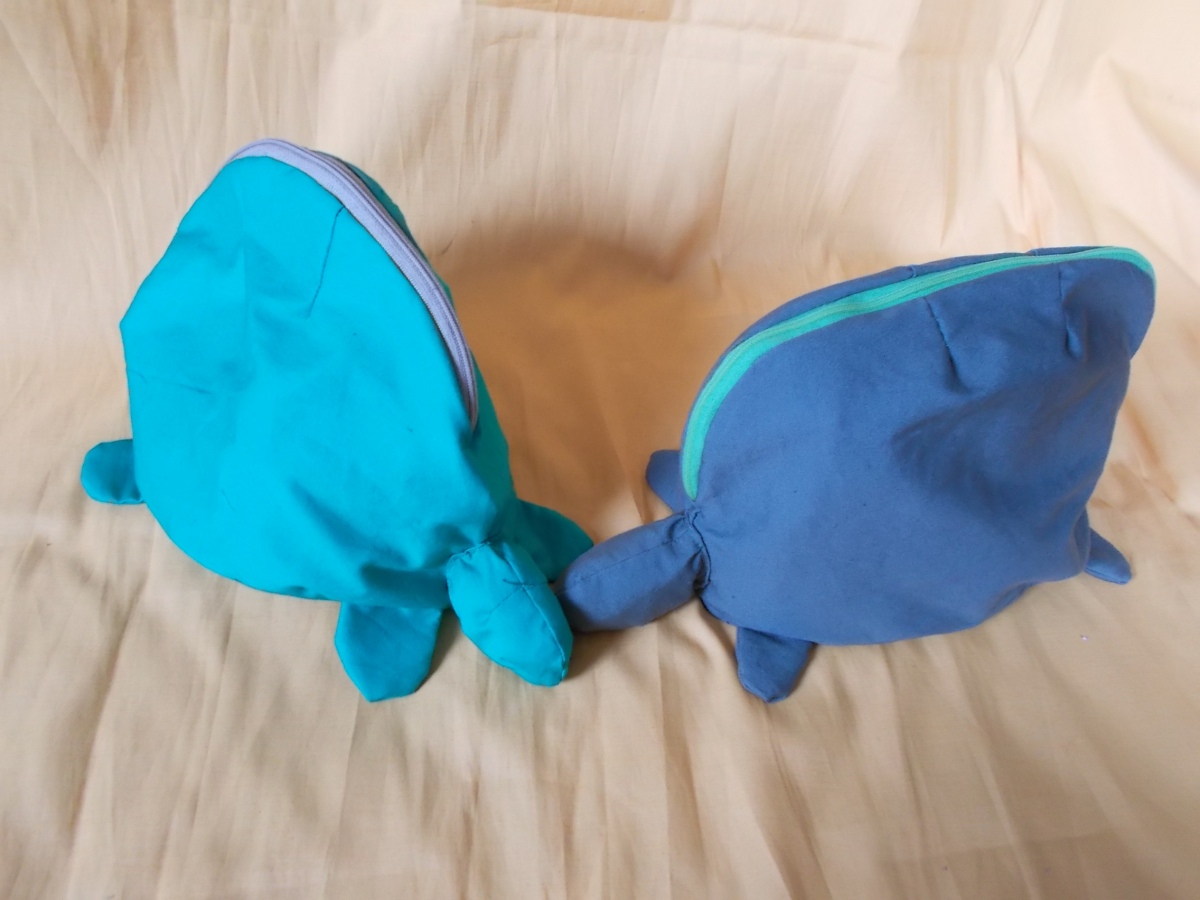
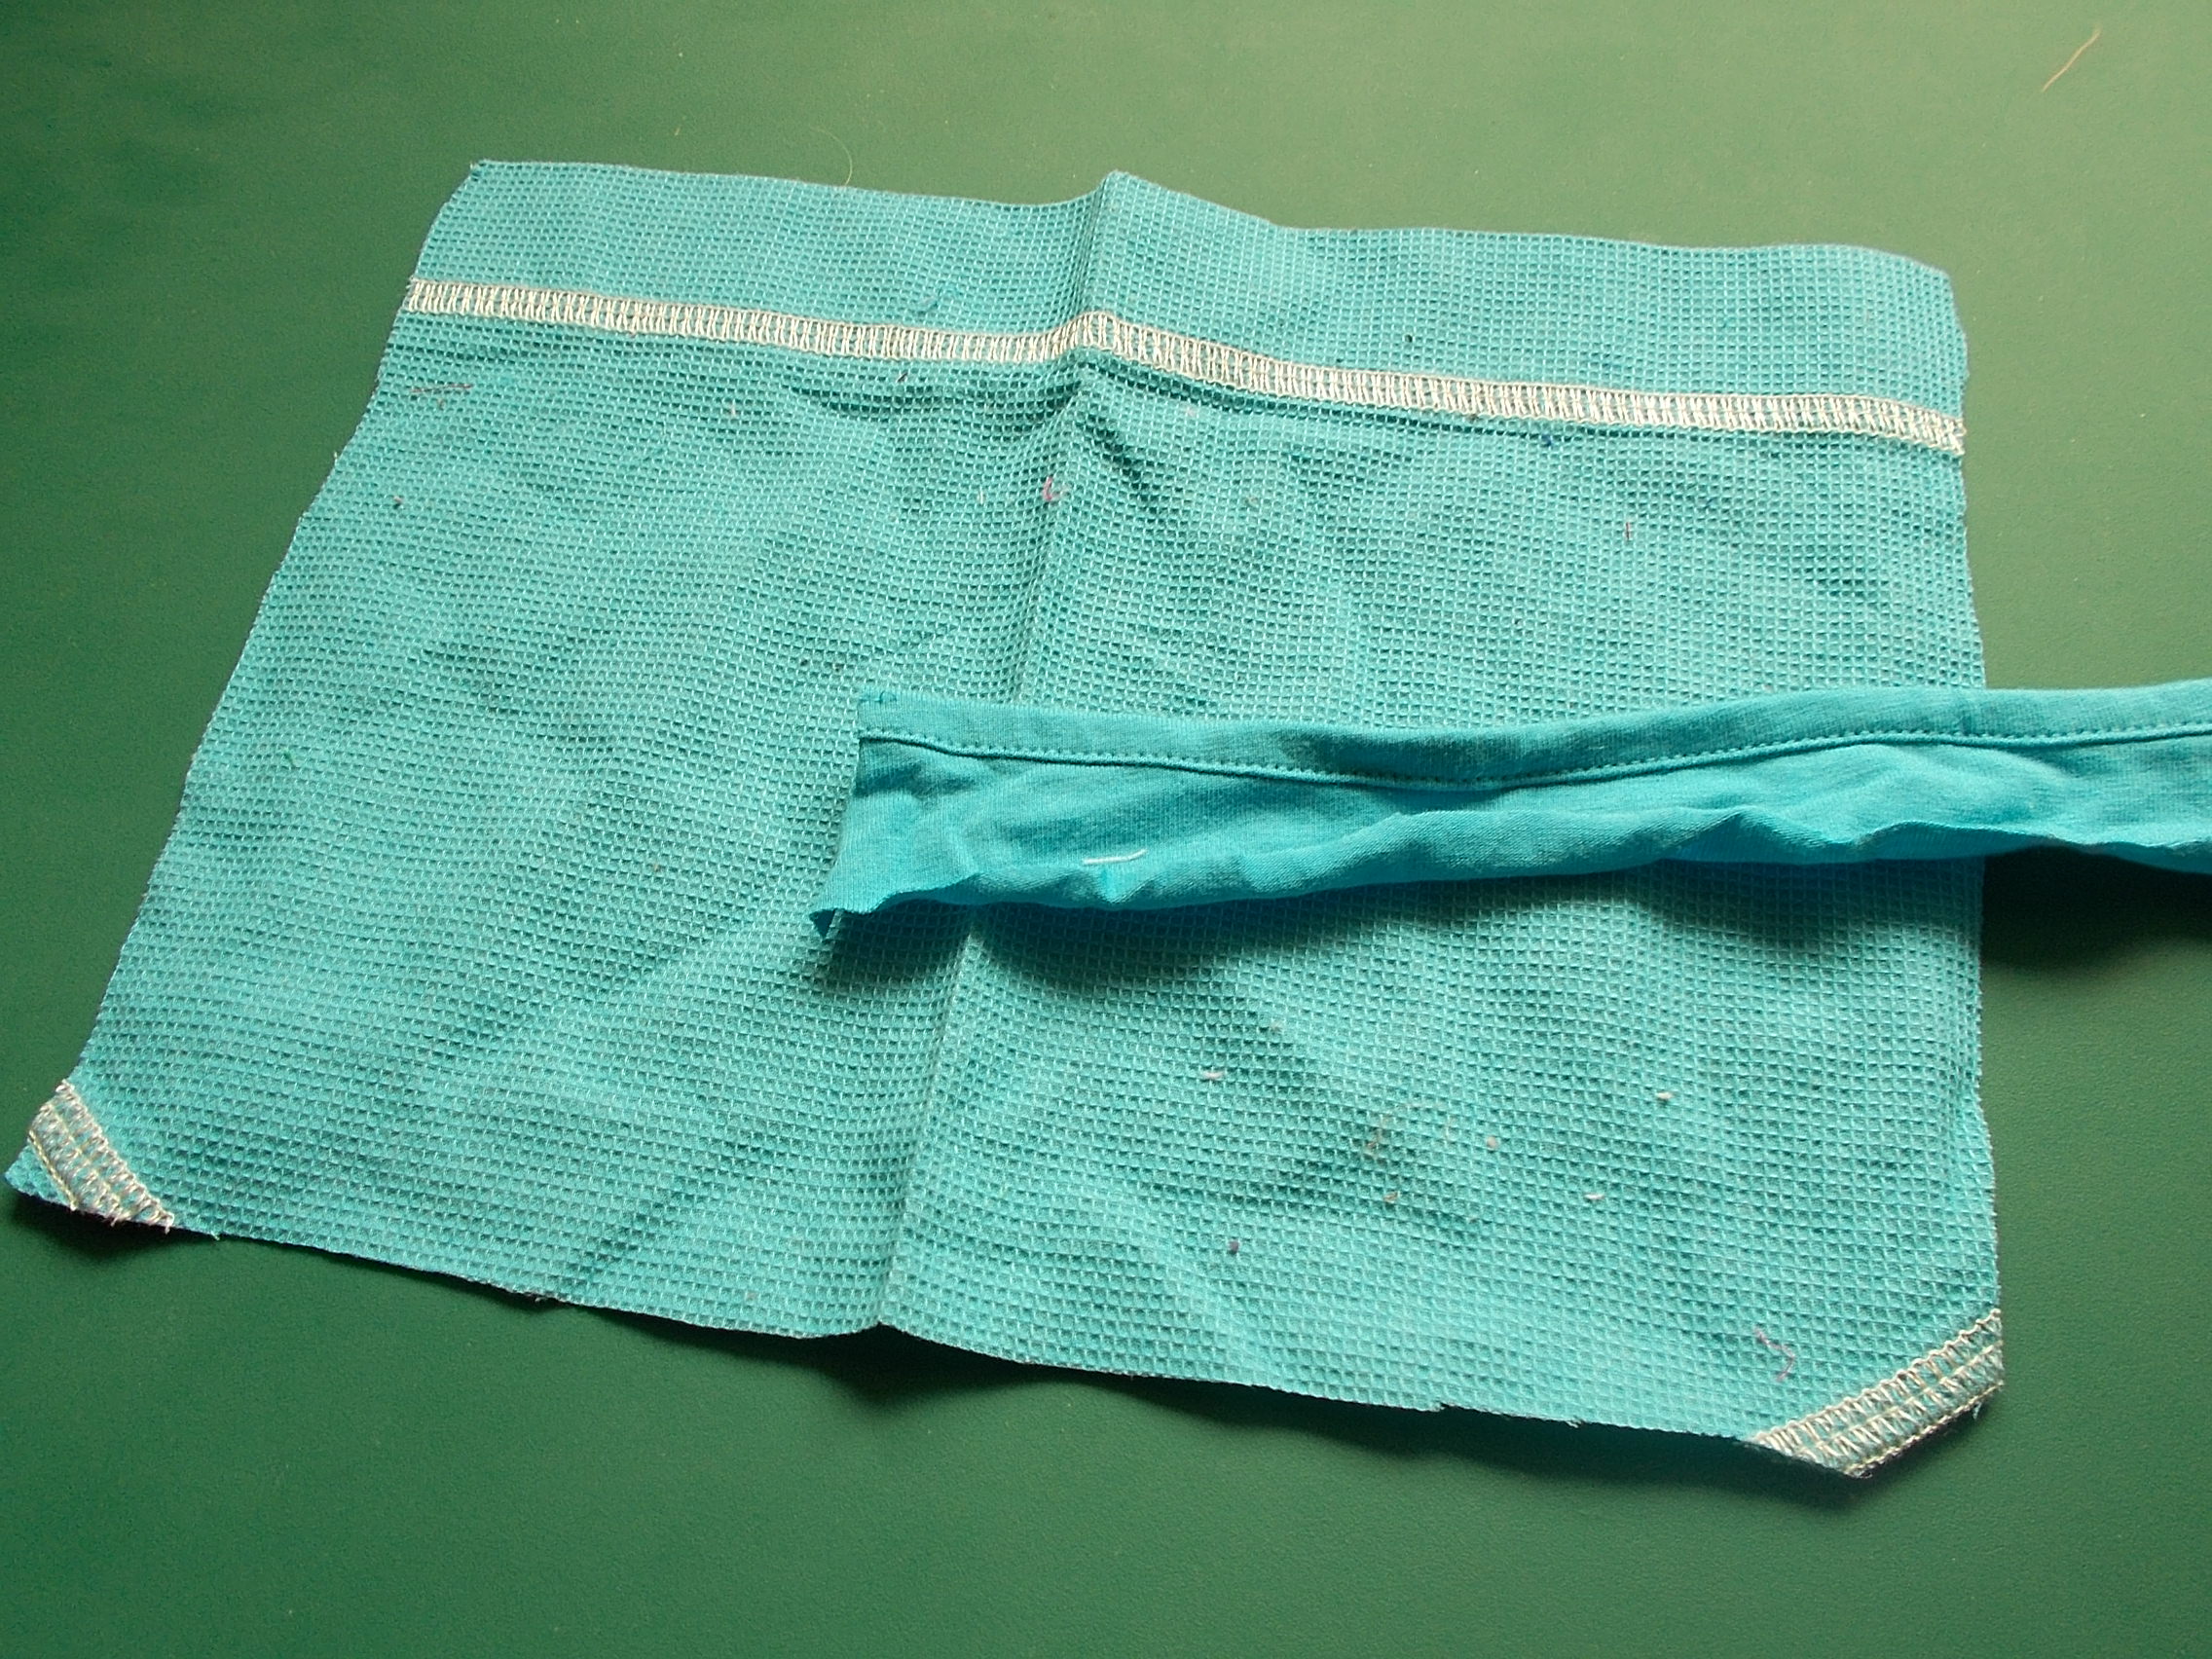
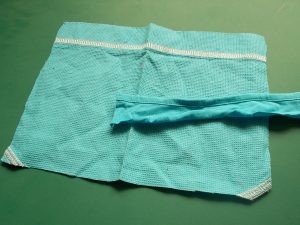
1. Measure your water bottle and choose a piece of fabric in the length and width of your bottle, adding about 1 cm/0.3 inch in all directions for the seam. Ours was made from the sleeve of an old shirt.

DSCN0701
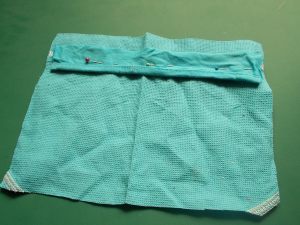
2. As the sleeve had an ugly white seam which we didn’t want to have on our bottle cover but which we could not remove, we covered it with a strip of fabric.

DSCN0705
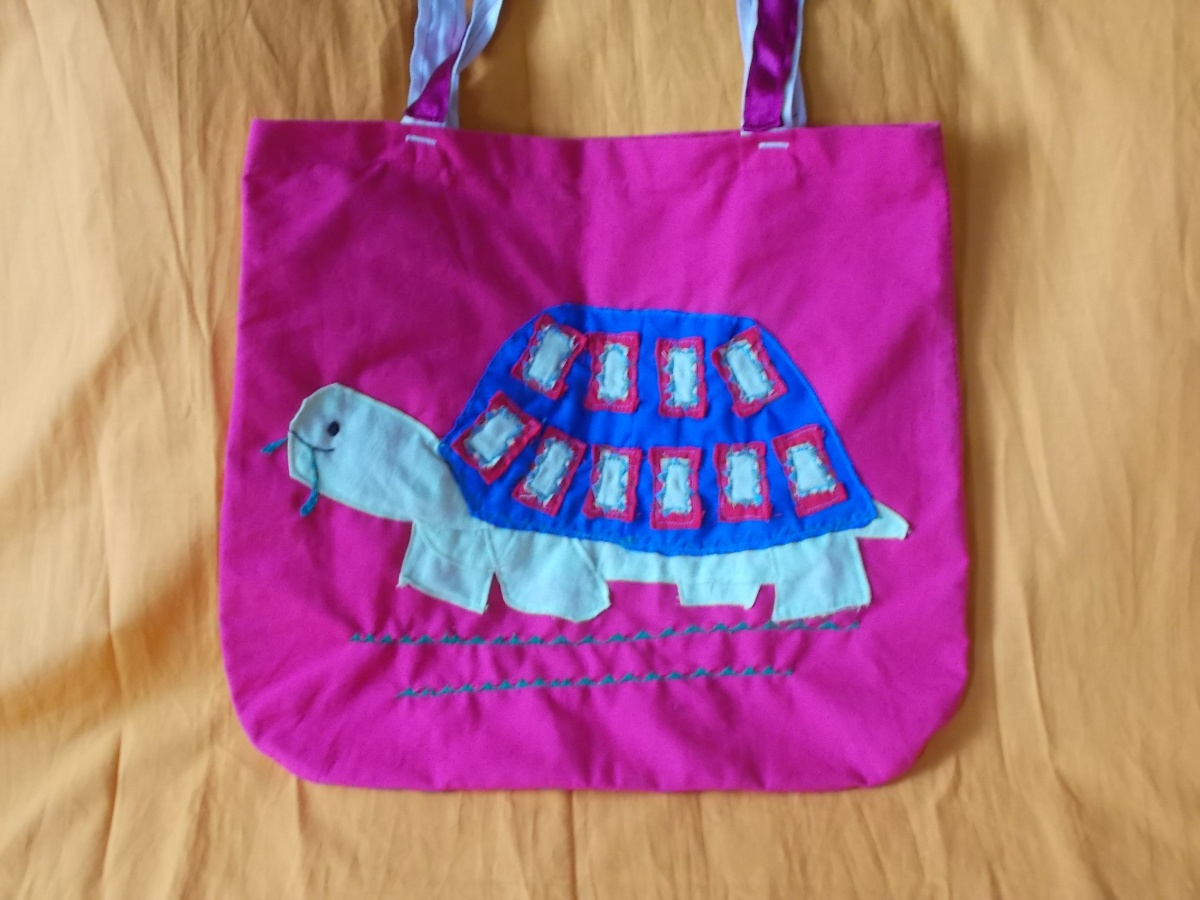
3. Next we chose some really tiny scraps of fabric for our design. As you can see in the photo, we used a length of seam from an old garment which had been shortened which we unstitched to reclaim the full length of the strip of fabric. We at EcoTurtleUpcycling don’t throw away any scraps of fabric, not even tiny scraps and remains of fabric, but collect them in a large bag because these tiny scraps come in really handy for all kinds of decorations and applied designs. When we just need a really small patch of fabric for a design, it would be a waste to cut out a strip of a larger piece of fabric which we could use for a project of its own. In this way, nothing is wasted, not even small scraps of fabric 🙂 .

DSCN0706
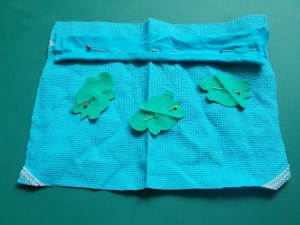
4. Cut out and sew your design onto the fabric.

DSCN0710
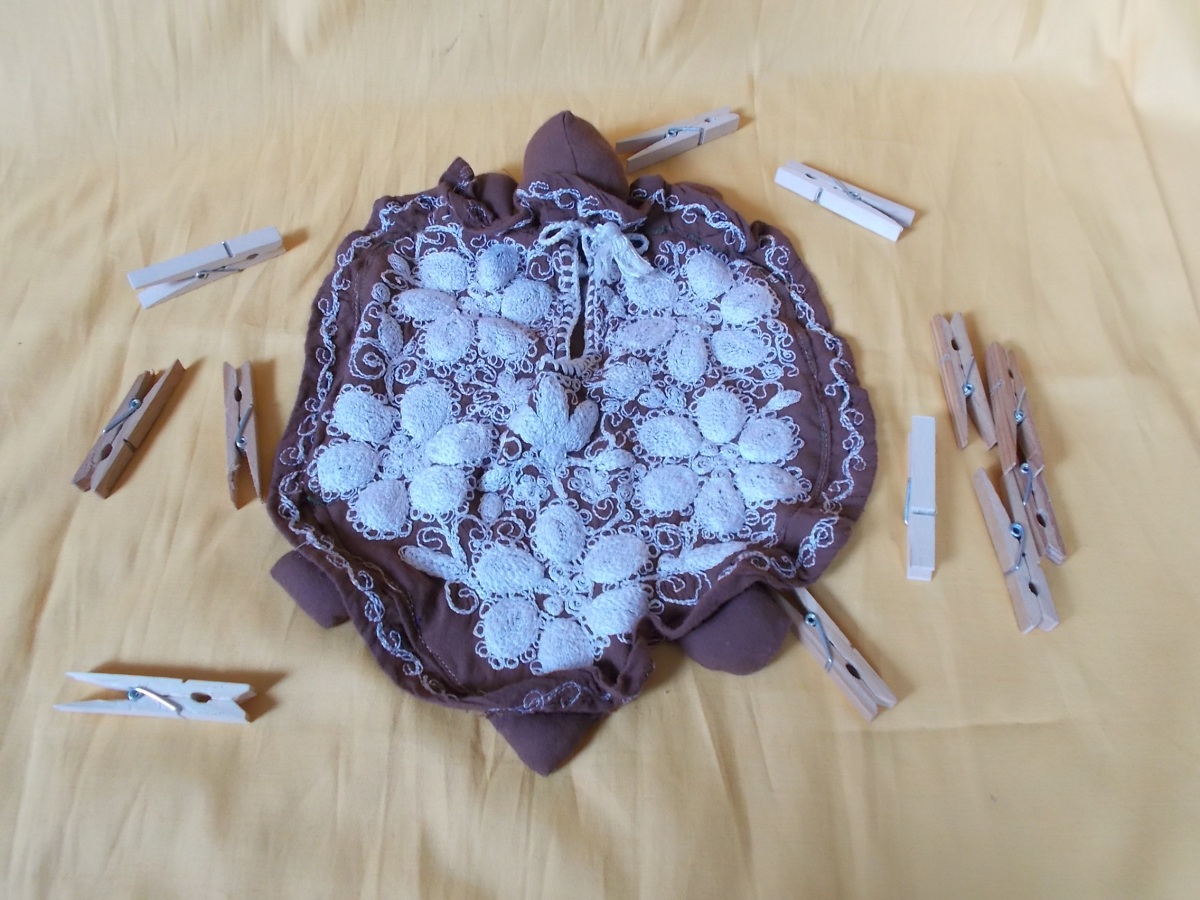
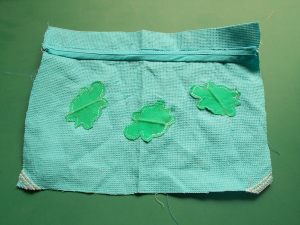
5. The finished design.

DSCN0711
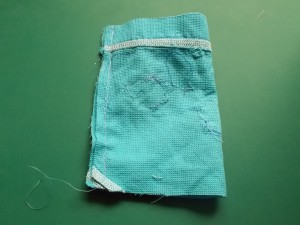
6. Sew the edge of your bottle cover, leaving the bottom open.

DSCN0698

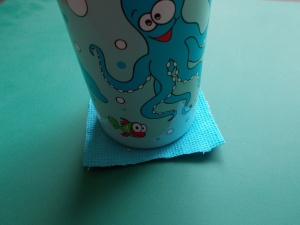
7. Choose a piece of fabric in the size of the bottom of your bottle, taking care to add about 1 cm/ 0.3 inch around the circle for the seam. Cut out a circle and sew it to the body of your bottle cover (inside out!).

8. Finally choose a ribbon or cord for your bottle and sew a strip of fabric against the inside of the top of your cover, then pull the ribbon through. Alternatively, make some holes into the fabric along the top of the cover to pull through your cord. Instead of a ribbon or cord, we used the strap of an old ladies’ top as a cord for the bottle cover.

9. Insert your bottle! 🙂