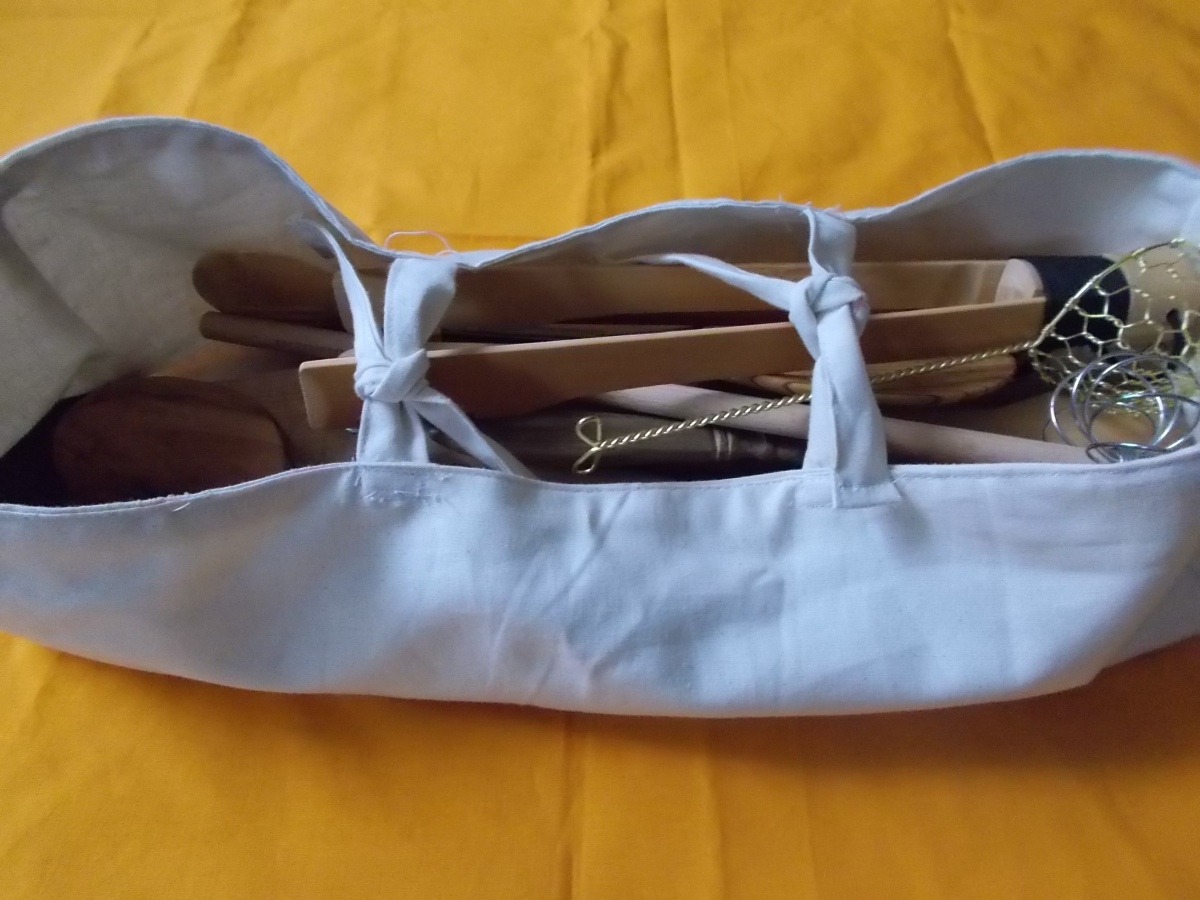
Today’s blog post will teach you how to make an organizer, e.g. for kitchen tools, pencils, stationary, other tools, etc. from a piece of fabric. You can either make it from new fabric or from a garment you wish to upcycle into something useful. 🙂
You will need:
- a piece of fabric which must be twice as large as the size of your intended organizer (the other half of the fabric will act as lining!); or two different pieces of fabric if you want the lining to be in a different colour or pattern
- sewing machine
- thread, needle, scissors, pencil
Instructions:

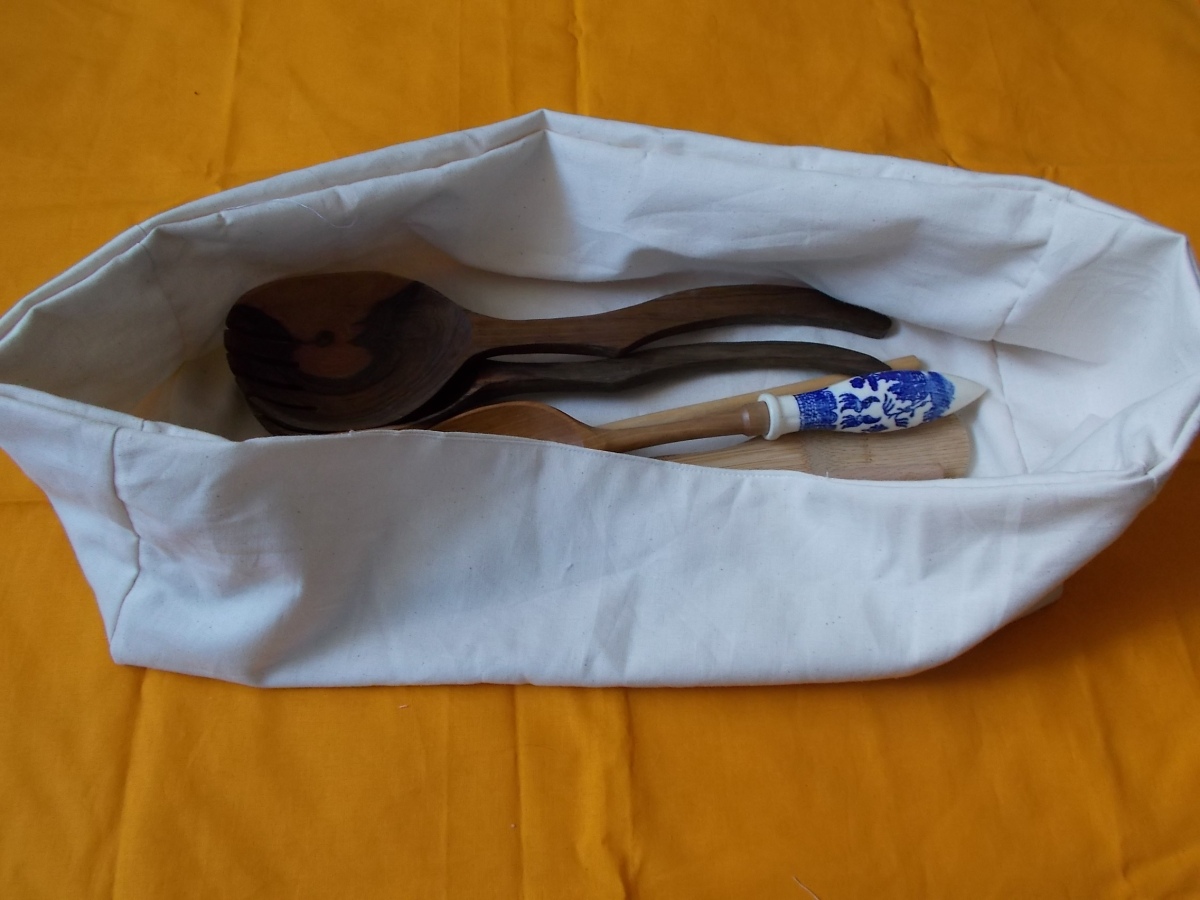
- To determine the size of your organizer, start by placing the tools which you want to store in it on the fabric. Your piece of fabric ought to be a few centimeters longer than the tools. Determine the width of your piece of fabric by adding the intended height of your organizer to both the left and right of your tools.

2. Now cut the top and bottom pieces for your organizer. The height of the small rectangle must be the same as the height you added to the left and right of your tools to the fabric. The width of the small rectangle ought to correspond to the width of your organizer. Cut the strip of fabric double the size again (it will be folded, one side acting as lining) – if you use different fabrics for the shell and lining, cut a rectangle each from the fabric for the shell and for the lining.
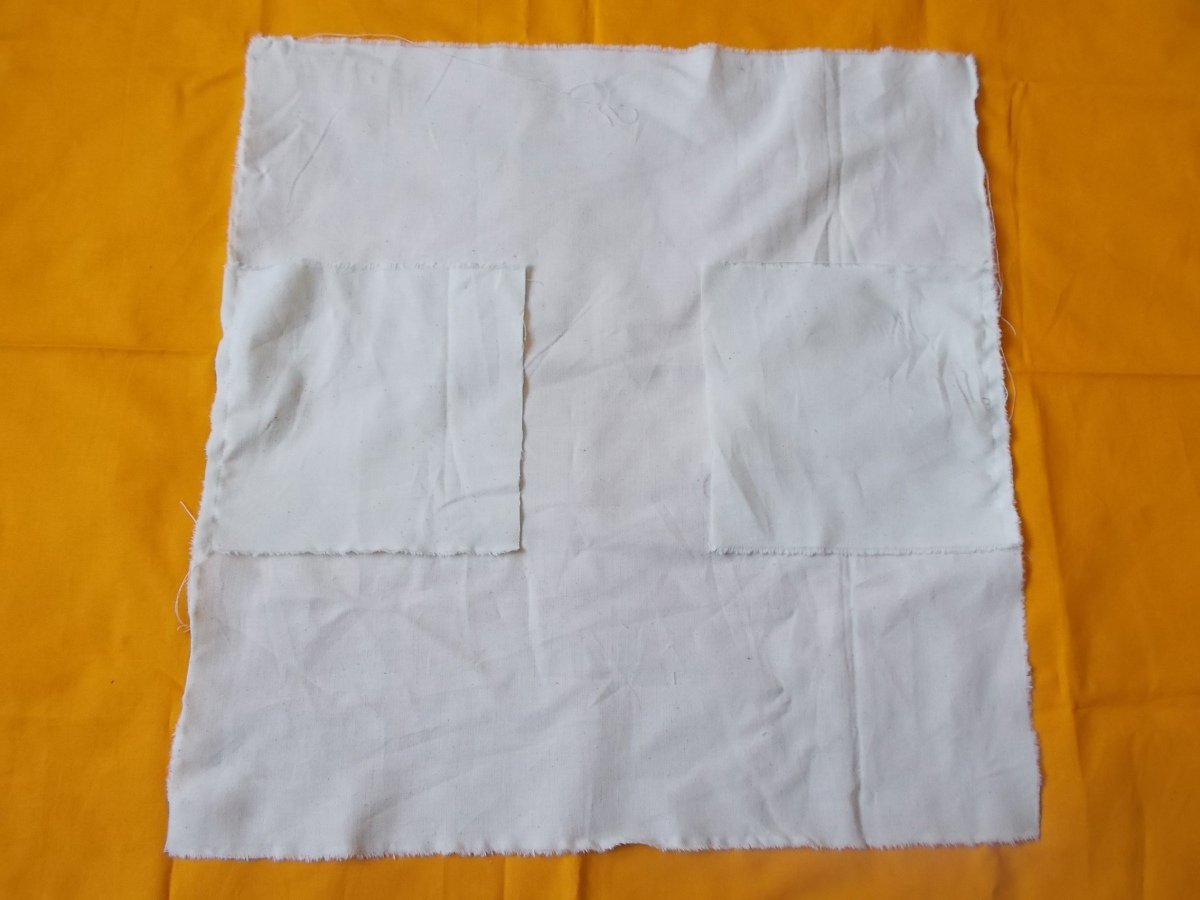
3. Now sew the top and bottom squares to the main body of your organizer. Repeat for the lining.
4. Now sew the sides of the small rectangles to the sides of the main body. Repeat with the lining.

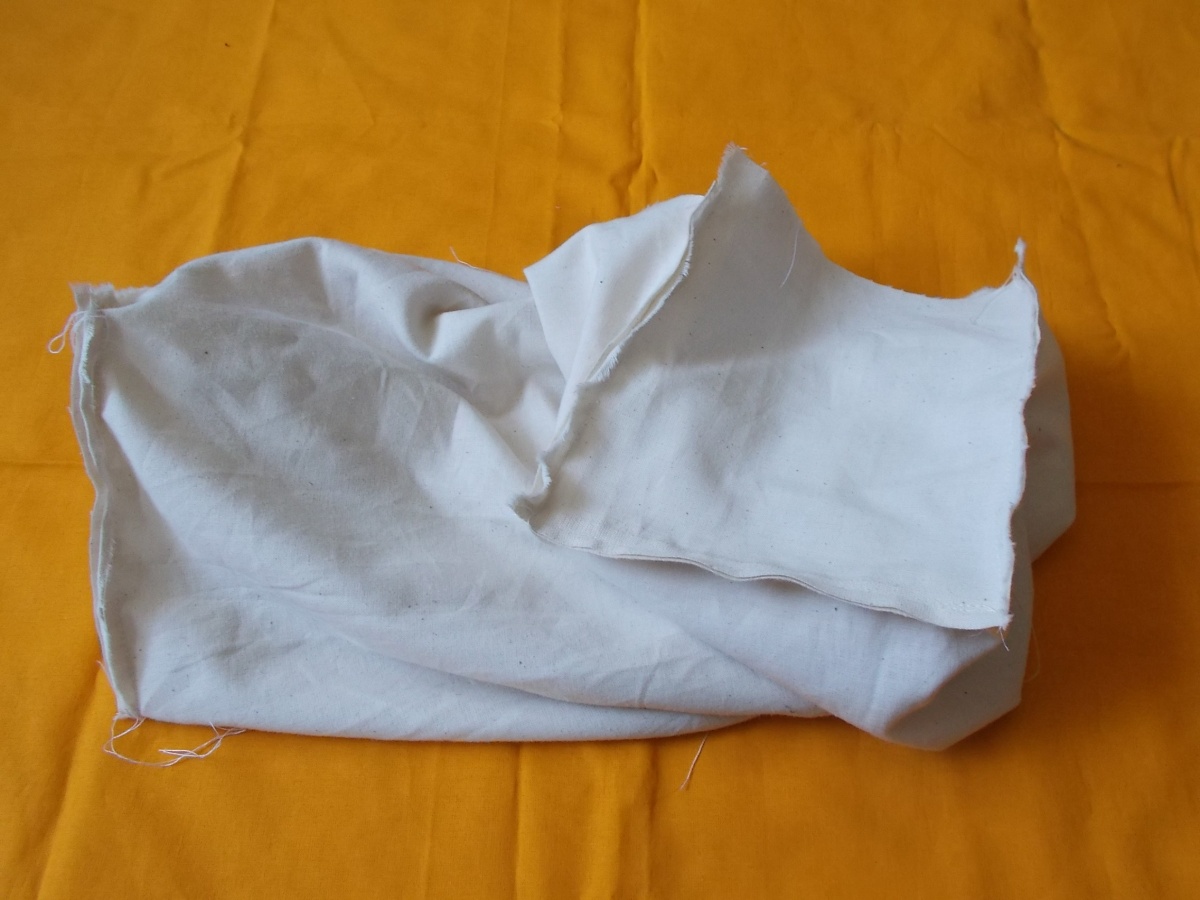
5. Put the two ‘containers’ inside each other – the seams must be on the outside!!
6. Sew the top edges of the two ‘containers’ together, leaving a slit open at one side.
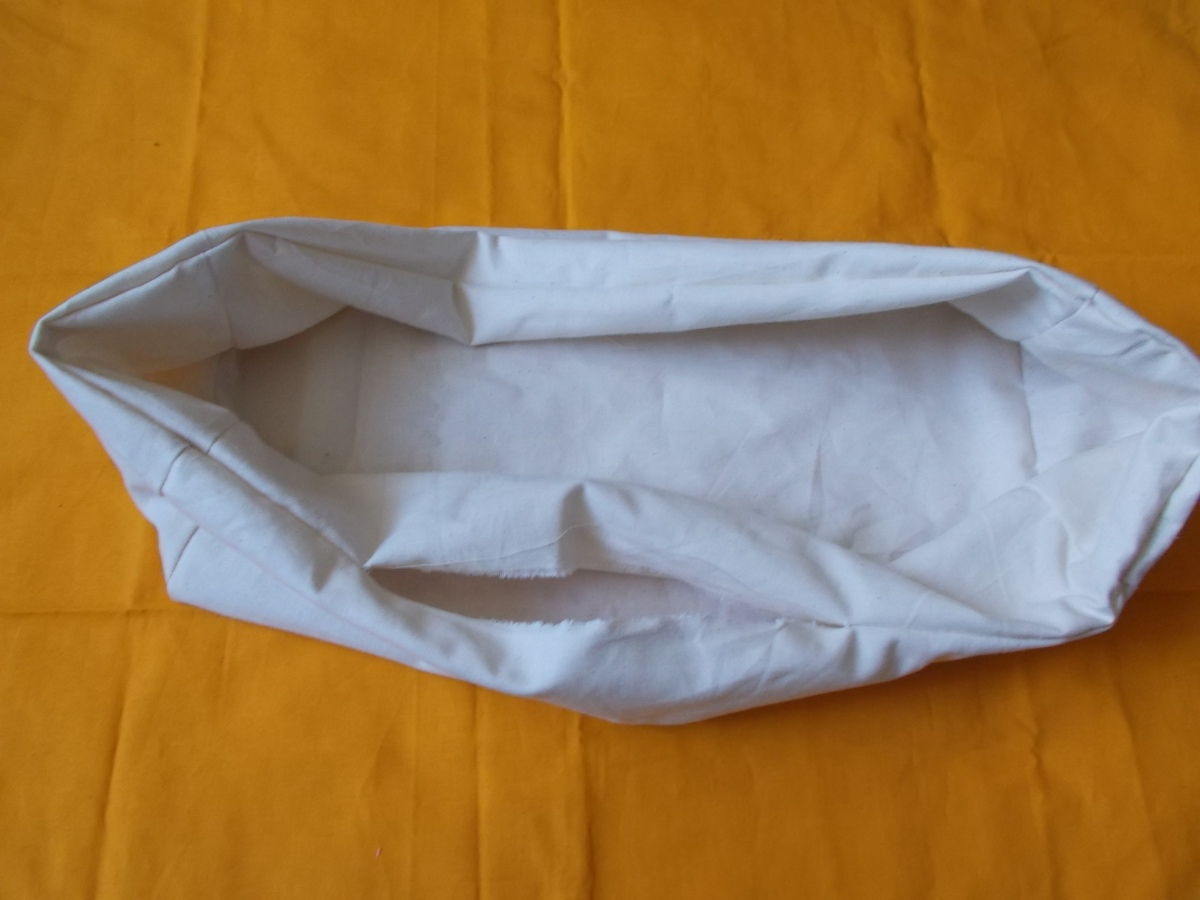
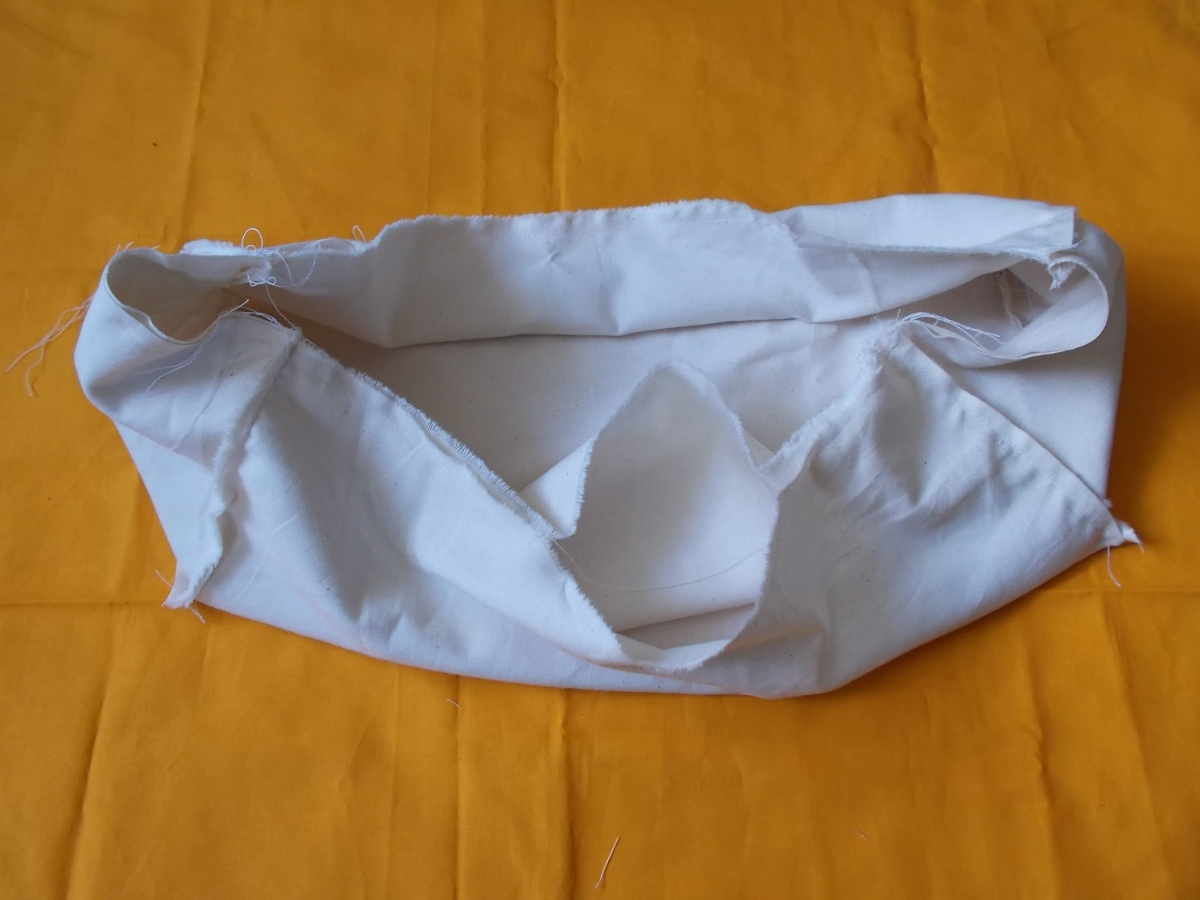
7. Turn the fabric inside out so that the seams are now on the inside. Sew the slit shut.
8. Your organizer is now almost finished.
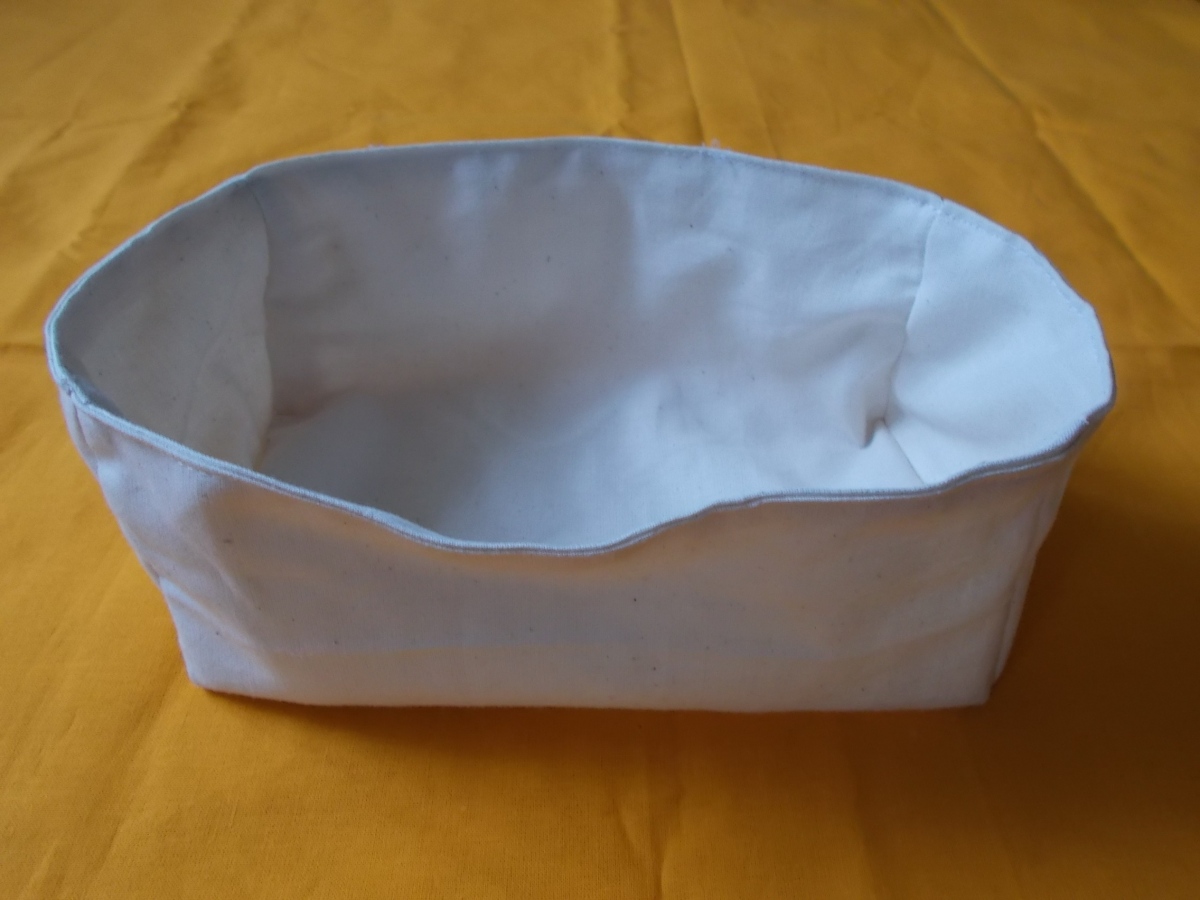
9. For more stability and a better look, sew around the top edge of the seam once more (very close to the edge of the seam is best). Optionally and if you wish, you can insert pieces of cardboard in the size of the sides into your organizer for extra stability before closing the seam.

Close-up of the strengthened seam.
10. Your organizer is now ready. If you find that the organizer does not hold your tools properly and is rather ‘loose’, you can also add some ribbons to both sides to hold the organizer together.