Zero Waste: How to make glue

glue-304256_960_720

Today’s blog post will continue our series on a Zero Waste lifestyle and will teach you how to make glue, i.e. a paper glue that is perfect for most crafts made of paper and cardboard and even wood, and for most household purposes.

You will need:

  • a cooking pot, a whisk, a small glass jar for storage and a paintbrush (to apply the glue)
  • white flour
  • corn starch
  • vinegar

The flour, the cornstarch and the vinegar ought to be in a ratio of 33:33:33. Depending on how much glue you want to make, one or two tablespoons of each ought to be enough: one tablespoon of each will result in a small amount of glue – perfect if you don’t need much – and two tablespoons of each ingredient will result in a small jar – perfect if you want to make a larger crafts project and need more glue.

Instructions:

  1. Bring a cup of water to the boil (e.g. in a watercooker), then pour the boiling water into the cooking pot – or bring the water to the boil in the pot. Turn off the heat.
  2. Mix the flour and the cornstarch in a bowl. Then, using a whisk, mix it into the hot water and stir until it has a creamy consistence.
  3. Now mix in the vinegar.
  4. Your glue is finished now! 🙂 Transfer it to a clean jar and let it cool. Apply your glue with the paintbrush.
Tutorial: How to make an organizer for tools, pencils, etc.

dscn2915

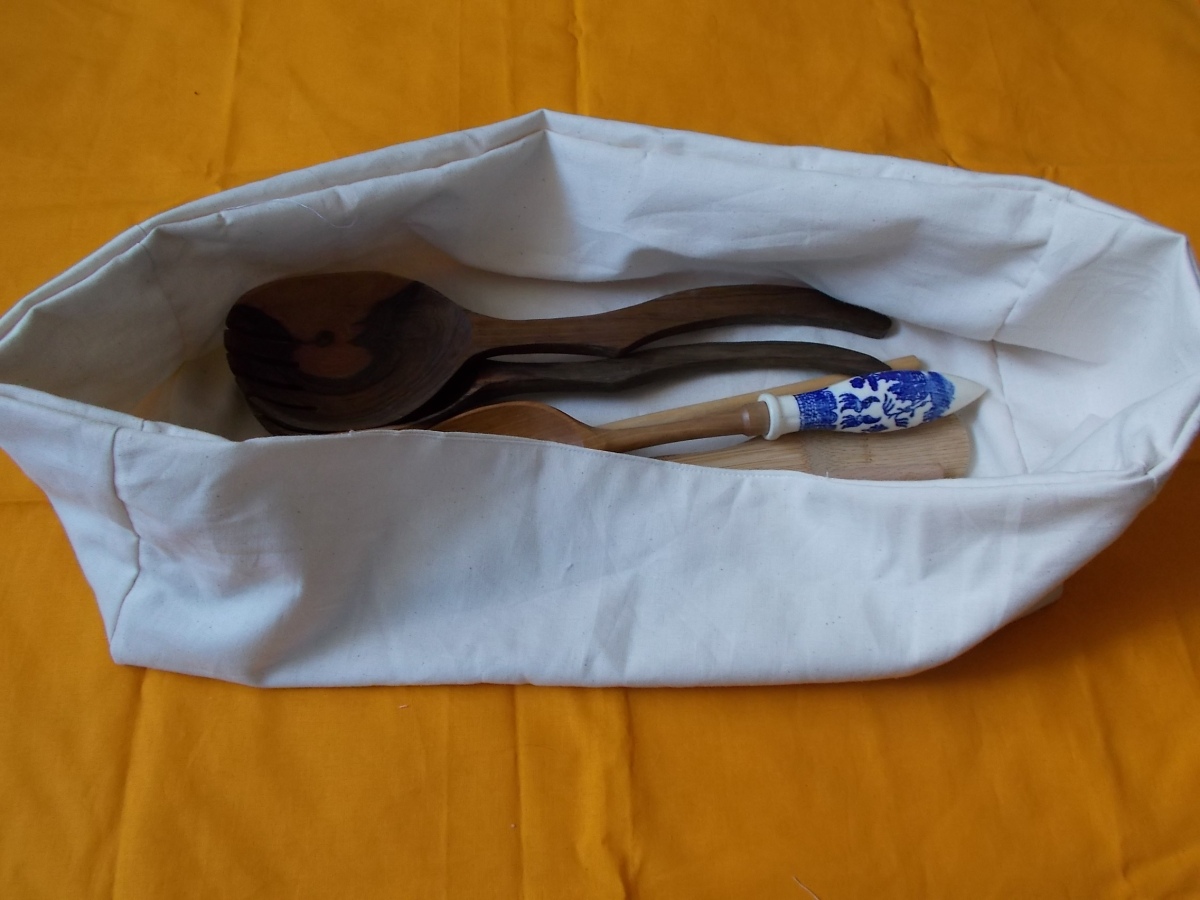
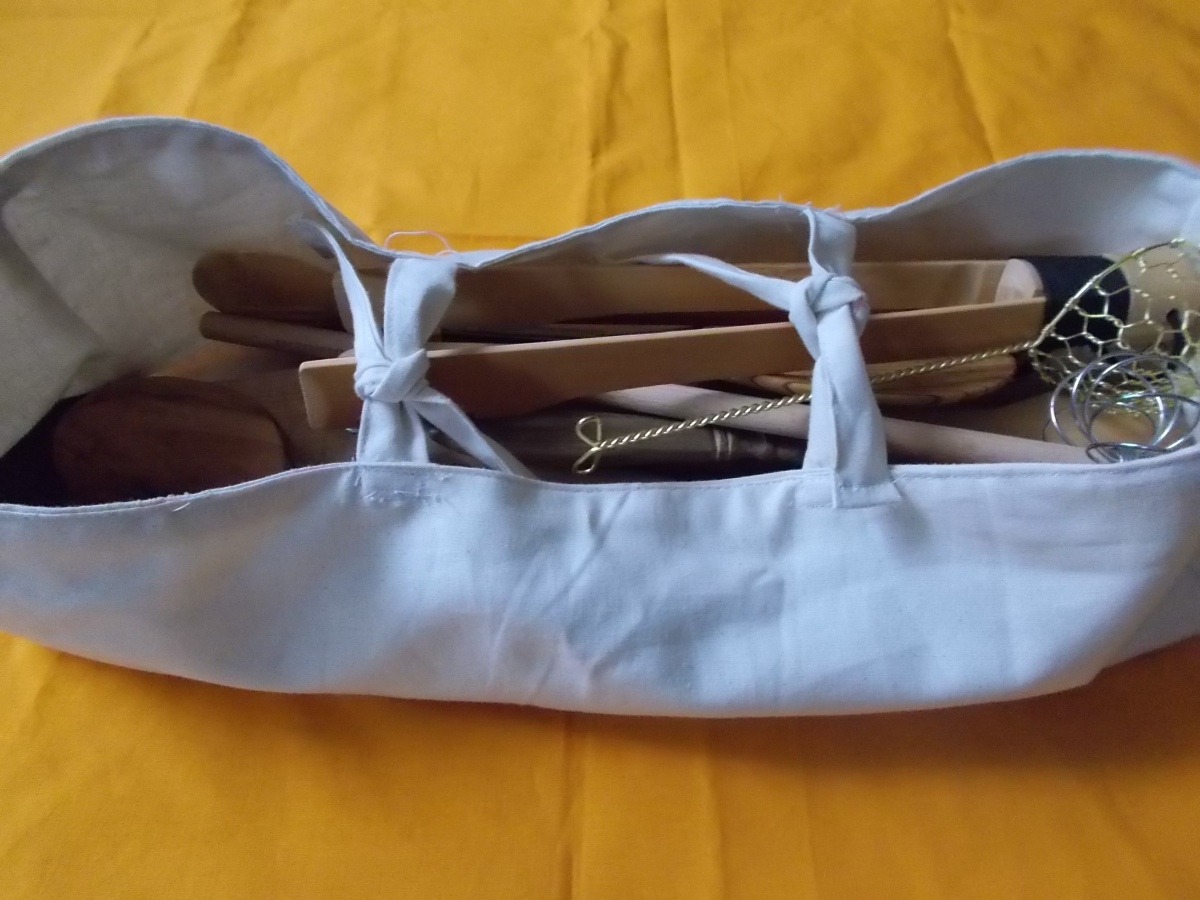
Today’s blog post will teach you how to make an organizer, e.g. for kitchen tools, pencils, stationary, other tools, etc. from a piece of fabric. You can either make it from new fabric or from a garment you wish to upcycle into something useful. 🙂

You will need:

  • a piece of fabric which must be twice as large as the size of your intended organizer (the other half of the fabric will act as lining!); or two different pieces of fabric if you want the lining to be in a different colour or pattern
  • sewing machine
  • thread, needle, scissors, pencil

Instructions:

dscn2882

  1. To determine the size of your organizer, start by placing the tools which you want to store in it on the fabric. Your piece of fabric ought to be a few centimeters longer than the tools. Determine the width of your piece of fabric by adding the intended height of your organizer to both the left and right of your tools.

dscn2887

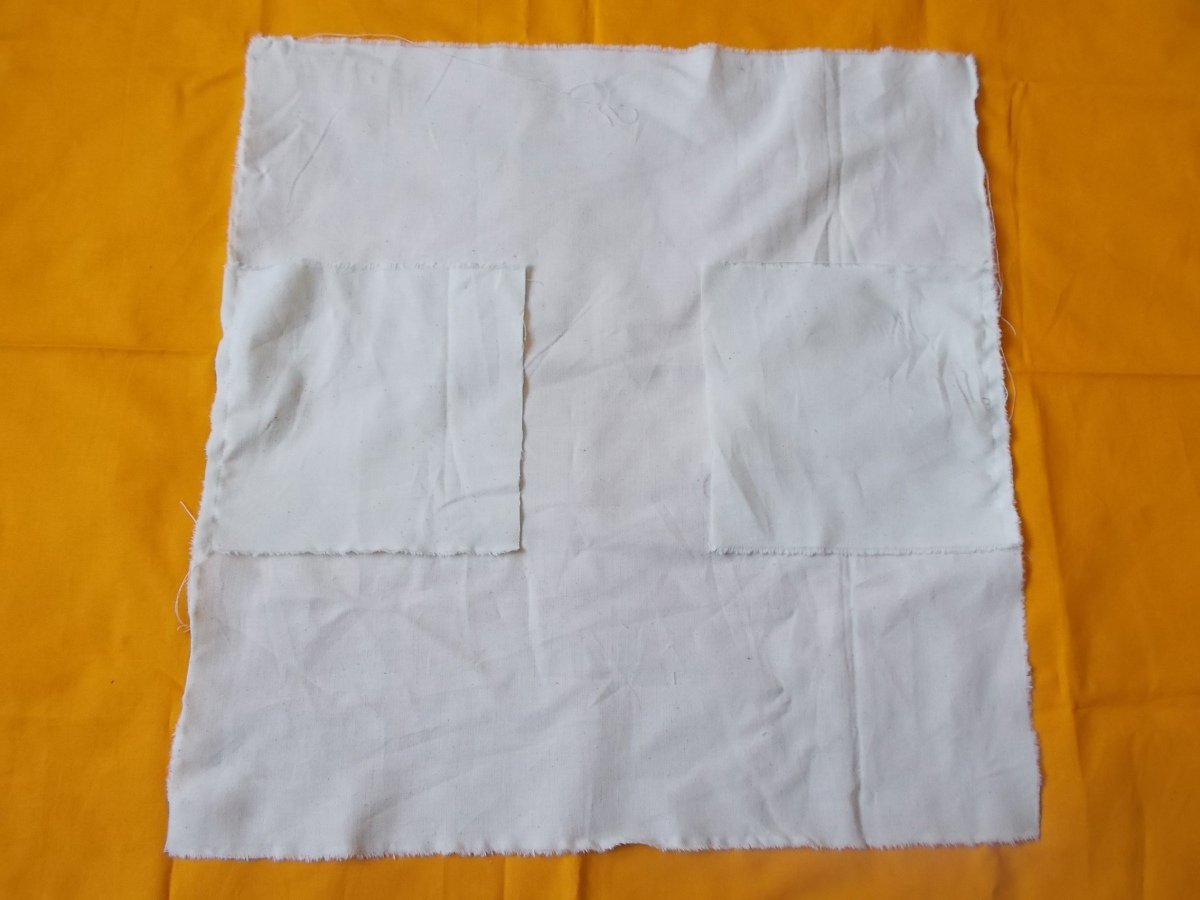
2. Now cut the top and bottom pieces for your organizer. The height of the small rectangle must be the same as the height you added to the left and right of your tools to the fabric. The width of the small rectangle ought to correspond to the width of your organizer. Cut the strip of fabric double the size again (it will be folded, one side acting as lining) – if you use different fabrics for the shell and lining, cut a rectangle each from the fabric for the shell and for the lining.


dscn2890


3. Now sew the top and bottom squares to the main body of your organizer. Repeat for the lining.

dscn2893

4. Now sew the sides of the small rectangles to the sides of the main body. Repeat with the lining.

dscn2896

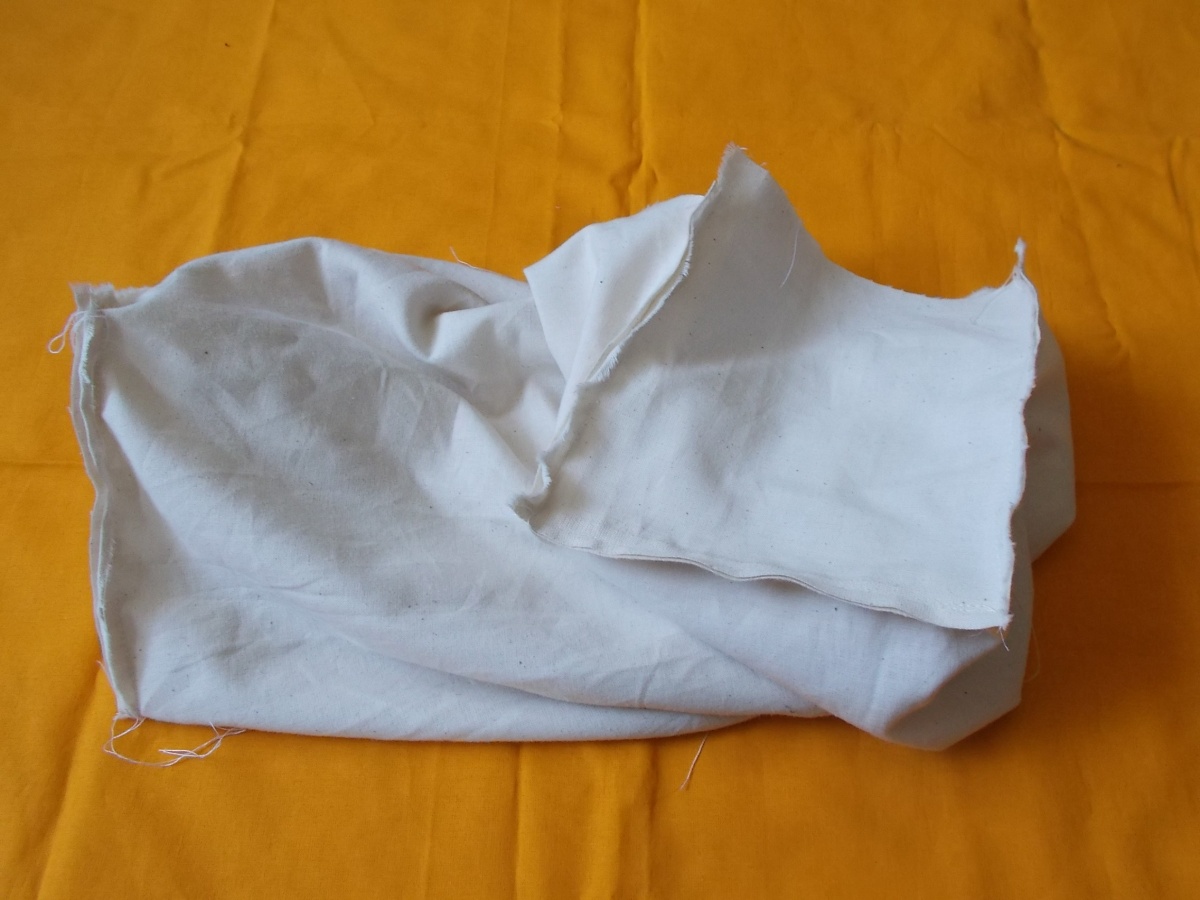
5. Put the two ‘containers’ inside each other – the seams must be on the outside!!

dscn2898

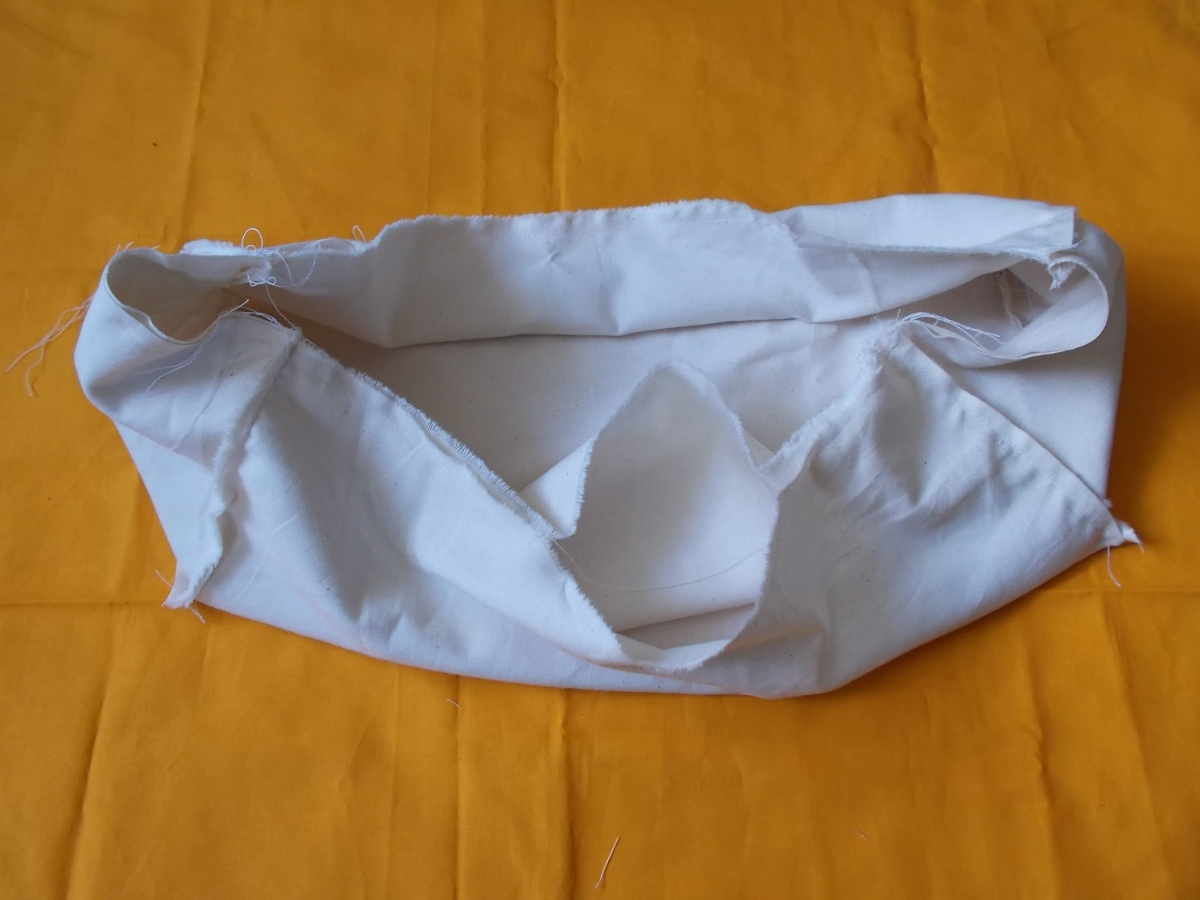
6. Sew the top edges of the two ‘containers’ together, leaving a slit open at one side.

dscn2901

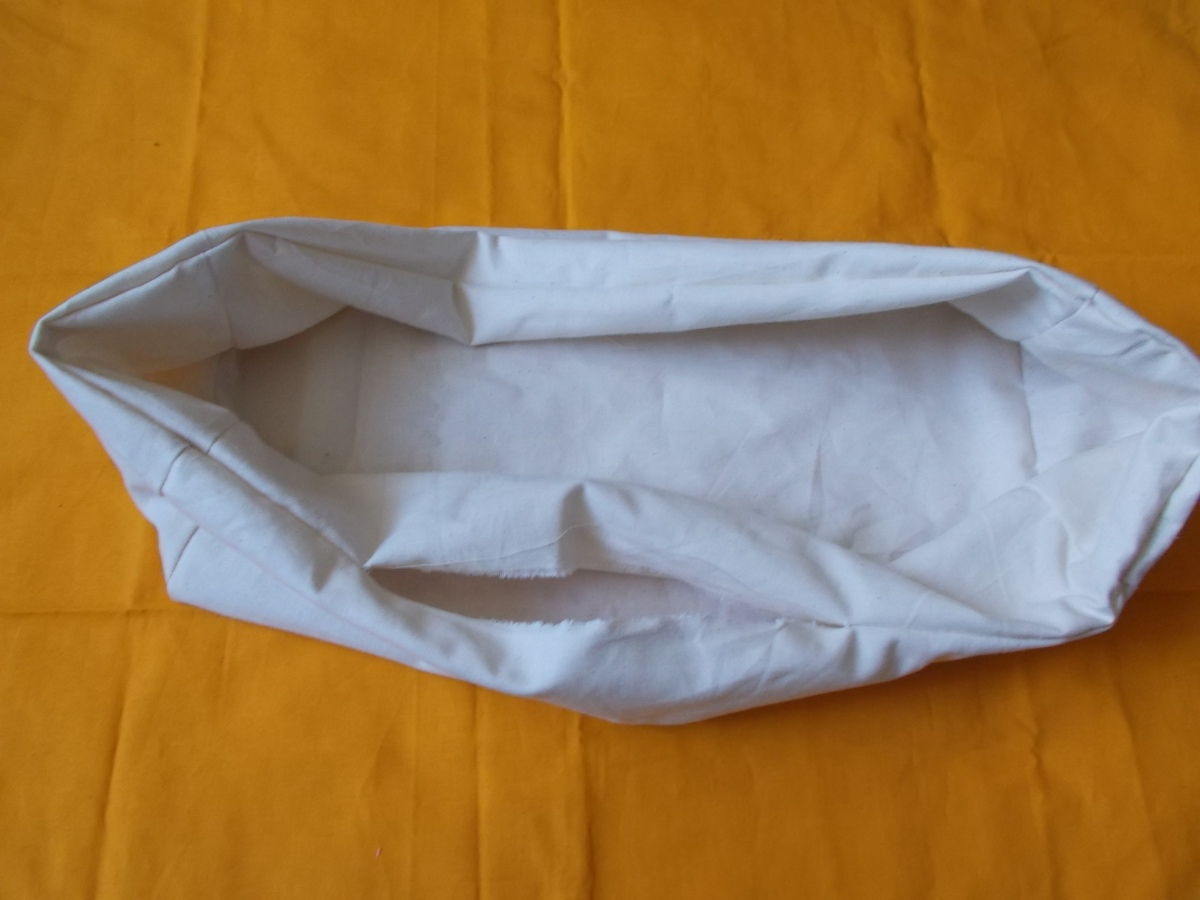
7. Turn the fabric inside out so that the seams are now on the inside. Sew the slit shut.

dscn2904

8. Your organizer is now almost finished.

dscn2912

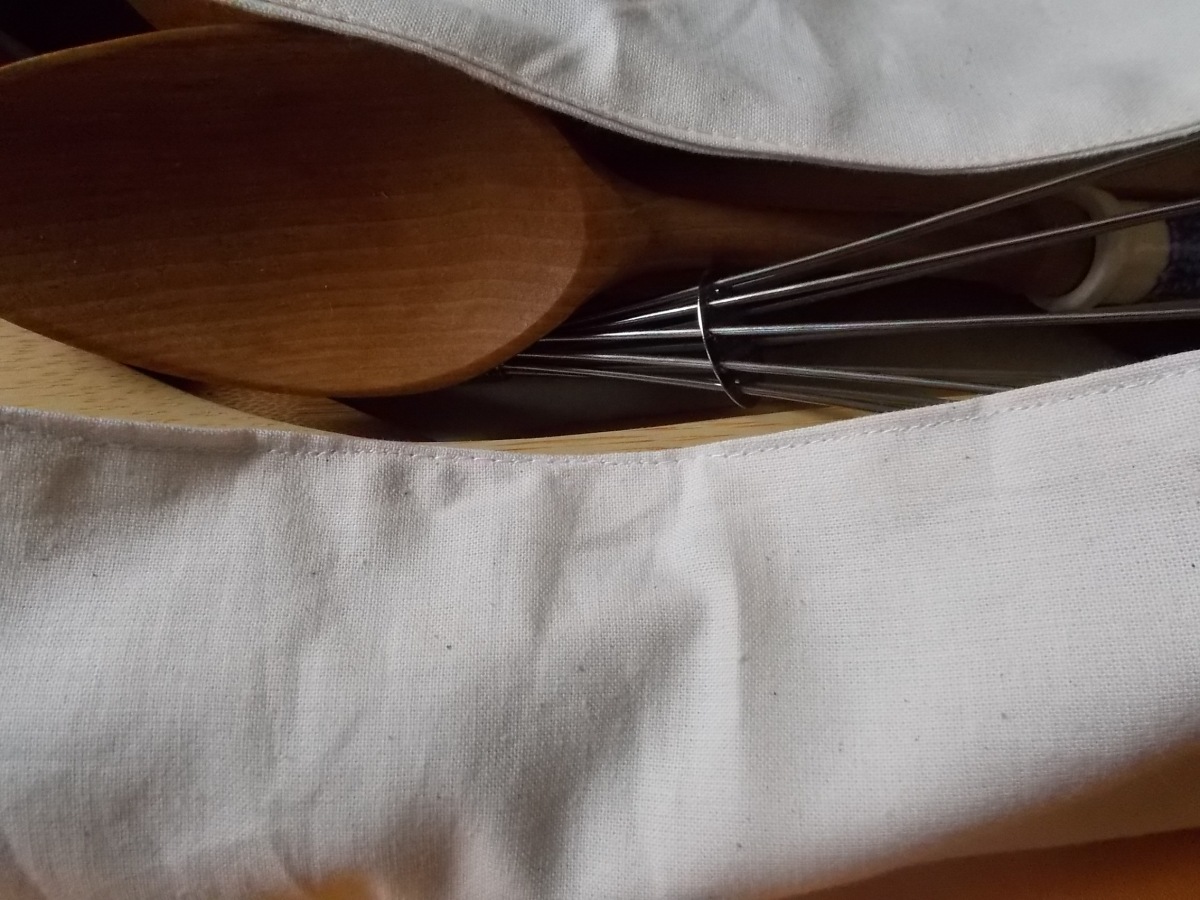
9. For more stability and a better look, sew around the top edge of the seam once more (very close to the edge of the seam is best). Optionally and if you wish, you can insert pieces of cardboard in the size of the sides into your organizer for extra stability before closing the seam.

dscn2906

Close-up of the strengthened seam.

dscn2915

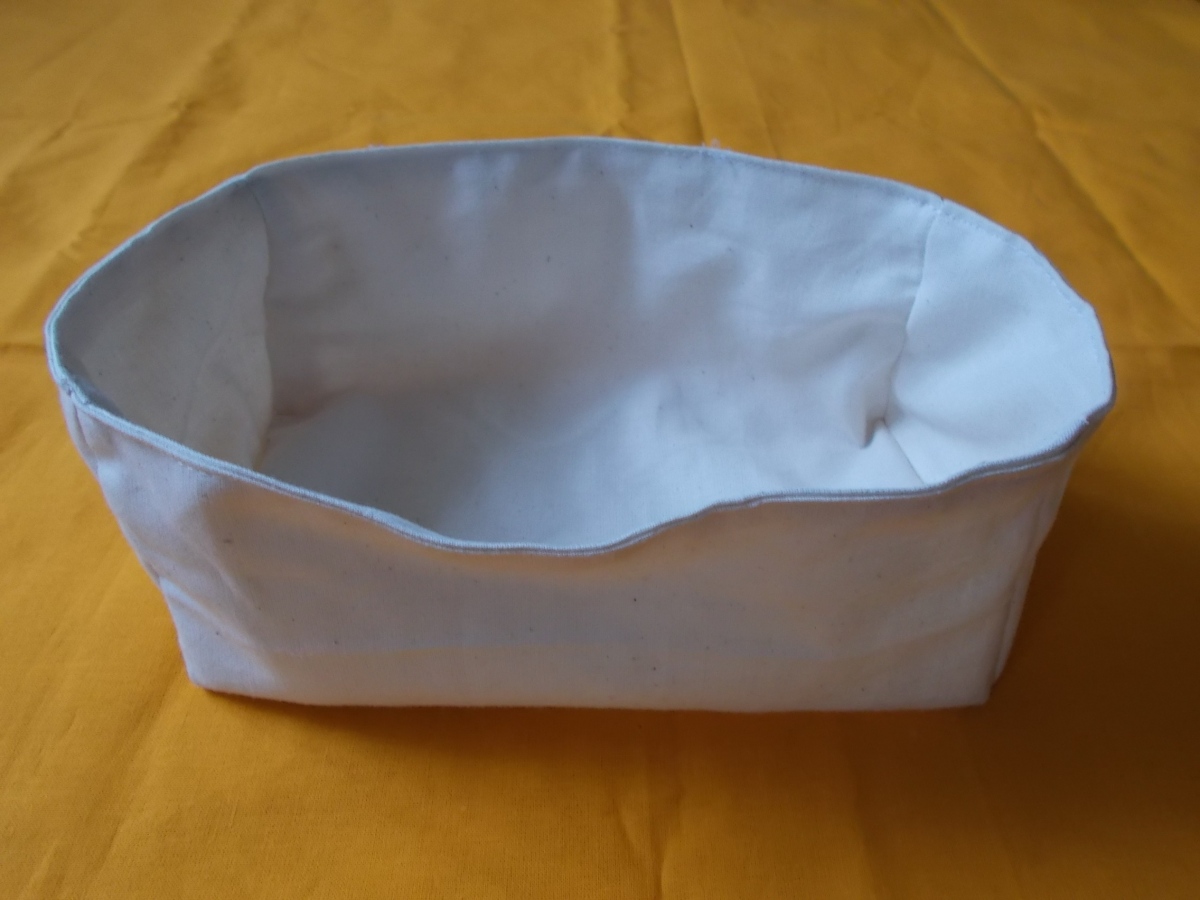
10. Your organizer is now ready.  If you find that the organizer does not hold your tools properly and is rather ‘loose’, you can also add some ribbons to both sides to hold the organizer together.

Upcycling Tutorial: How to make a turtle picture frame

DSCN2844

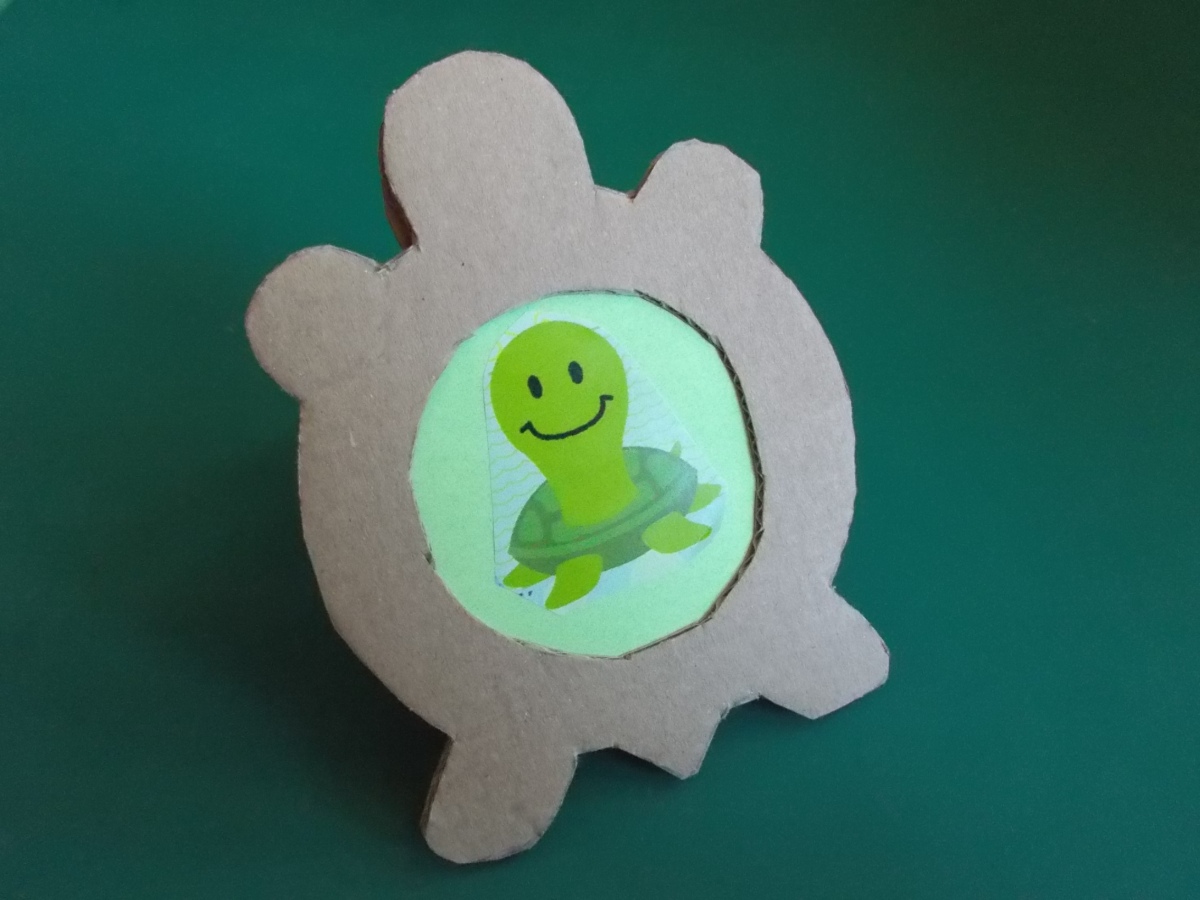
Today’s blog post will teach you how to make a turtle or tortoise picture frame from cardboard. 😀

You will need:

  • cardboard (enough for cutting out 3 turtle shapes per picture frame)
  • scissors and craft knife
  • glue and adhesive tape
  • pencil
  • paper
  • optional: gift wrapping paper or paint or something similar if you want to decorate your picture frame
  1. Draw a turtle shape on a piece of paper – pay attention that the turtle’s feet are on a straight line (this is where your picture frame will stand on!). Draw 2 circles inside the shell: the first, larger circle, is the size of your picture, the second innermost circle ought to be about 2mm/0.08inch smaller than your picture (so that your picture won’t fall out! 🙂 ). Cut out the turtle and draw 3 turtles on your cardboard – these will form the 3 layers of the frame.

2. Cut out the innermost circle. Lay the turtle on one of the cardboard turtles (the one you want to be the visible front layer of your frame) and draw in the small circle. Next, cut out the larger inner circle, and draw the larger inner circle on the 2 other turtles. You now ought to have one turtle with the smallest circle, and 2 turtles with the larger inner circle drawn inside.

3. Cut out the turtles, then cut out the inner circles with a craft knife. The turtle with the smallest inner circle will be your front piece.

4. Glue the three layers together – the turtle with the smallest inner circle ought to be the bottom layer. Keep one of the two larger cardboard circles you have cut out – this will be the back of your picture frame that protects your picture. Next you will need to make a stand for your picture: Take your turtle and put it on a spare piece of cardboard; draw around the semi-circle of the head; remove your turtle, then draw two vertical lines on both sides of the semi-circle so that you will have a strip with a rounded top. Cut out the strip. For a simple stand, your strip ought to have a length that is slightly shorter than the frame, so ideally, the strip ought to reach from the top of the head to just above the turtle’s tail. For extra stability, you can make your strip longer than the actual picture frame and then fold it into an L-shape just above the line where the tail starts. Glue the strip to the head (if you have an L-shaped stand, the bottom line of the L ought to face inwards towards the picture).

5. Your picture frame is now ready. If you want, you can decorate your frame, e.g. cover it with gift wrapping paper or painting it or gluing decorative elements to it. Insert your picture and cover it with the cardboard circle which you kept – fasten it with adhesive tape across the back circle. If you want to protect your picture, you can cut out a plastic circle out of some transparent plastic foil and put it inside the frame before you add the picture.


Upcycling tutorial: How to make a picture frame from cardboard

DSCN2667

Today’s blog post will show you how you can easily make a picture frame out of cardboard or cardboard envelopes. This type of picture frame is suitable in particular for framing calendars, but of course, any other picture can be framed in this way too. 🙂

You will need:

  • picture of your choice
  • cardboard or cardboard envelopes
  • glue (glue for wood is best in our experience)
  • scissors
  • some paper clips
  • optional: paper tape or decorative paper to cover your picture frame
  1. Lay your picture on your chosen piece of cardboard. As you can see in the picture above, ours is larger than the usual standard size of cardboard envelopes and projects a bit over the edges on both sides. (The picture we want to frame in this tutorial is a calendar sheet).

2. Cut two side pieces for your picture frame and fold them over the edges of your picture. Make sure they are wide enough to allow for the projecting sides of the picture if your picture is larger than the size of the cardboard. Push the side pieces under the back of the frame and mark the edge where the back of the frame ends with a pencil line.

3. Apply glue onto the side pieces in the fields you marked with the pencil line. Let dry. Once the side pieces are glued to the back of the frame, fold up the lower edge of frame and glue the corners (fasten with 2 paper clips while the glue dries).

4. Cut a piece for the top of the frame, and glue it to the top.


5. Take a paper clip and fold it into the shape of a hanger. Make a small incision into the middle of the top edge of the frame and push the paper clip hanger through.

DSCN2667

6. Depending on what sort of picture you want to frame, you have two options: If you just want to frame a picture that is to permanently hang on your wall, you can glue the frame shut in the top corners. However, if you want to frame old calendar sheets like us, which are still to be exchanged every month, you can attach two paper brackets (split pins) from the inside and attach them with some tape on the inside of the frame so they won’t fall out when you open the frame. You can disguise these brackets with a flap of decorative paper if you prefer.

As for the general appearance of your frame, you can either leave it as it is (= brown cardboard) or cover the frame with some decorative paper of your choice, e.g. gift wrapping paper or even the sturdy brown bags from supermarkets turned inside out. We covered ours with paper tape, since this gives the frame a smooth unified look that even looks a bit woody. 🙂

Upcycling: Brocade pencil cases

DSCN2263

Today’s blogpost features some pencil cases we made from reclaimed Chinese brocade silk fabric. We usually source our materials either from fleamarkets or thrift shops, or buy material remnants from industrial production. We made these pencil cases from some Chinese brocade garments we found on a fleamarket, and also the lining is made from reclaimed fabrics in a matching colour. 🙂 Only the zippers are new.

DSCN2272

The nice thing about making pencil cases yourself is that you can make them in non-standard sizes. The red pencil case in the photo, for example, is rather short and also fits in smaller bags, whereas the green one is long enough to hold knitting needles and other extra long tools 🙂 . The medium size pencil cases are made long enough to hold rulers, which often do not fit into standard-size pencil cases. 🙂

Some of these are currently available in our dawanda shop.

Upcycling: Sweater cushion covers

DSCN2130

Today’s blog post continues our series of examples of upcycled sweaters. We found these two sweaters in a thriftshop and thought they would make a nice couple of sofa cushions. 🙂 If you like upcycling projects and don’t know where to source your raw materials, thriftshops and fleamarkets are often a good place to find items that are as good as new, such as these two pullovers were. 🙂 We decided to adorn the sweaters with new embroidered cotton ribbons, which we had taken over from a shop that had closed down, and which we thought matched the colours of the sweaters perfectly. When you want to attach a ribbon to an elastic fabric such as a pullover, use a stitch for jersey fabrics. Finally we added some snap fasteners at the bottom.


Upcycling: Turtle jersey rag rugs

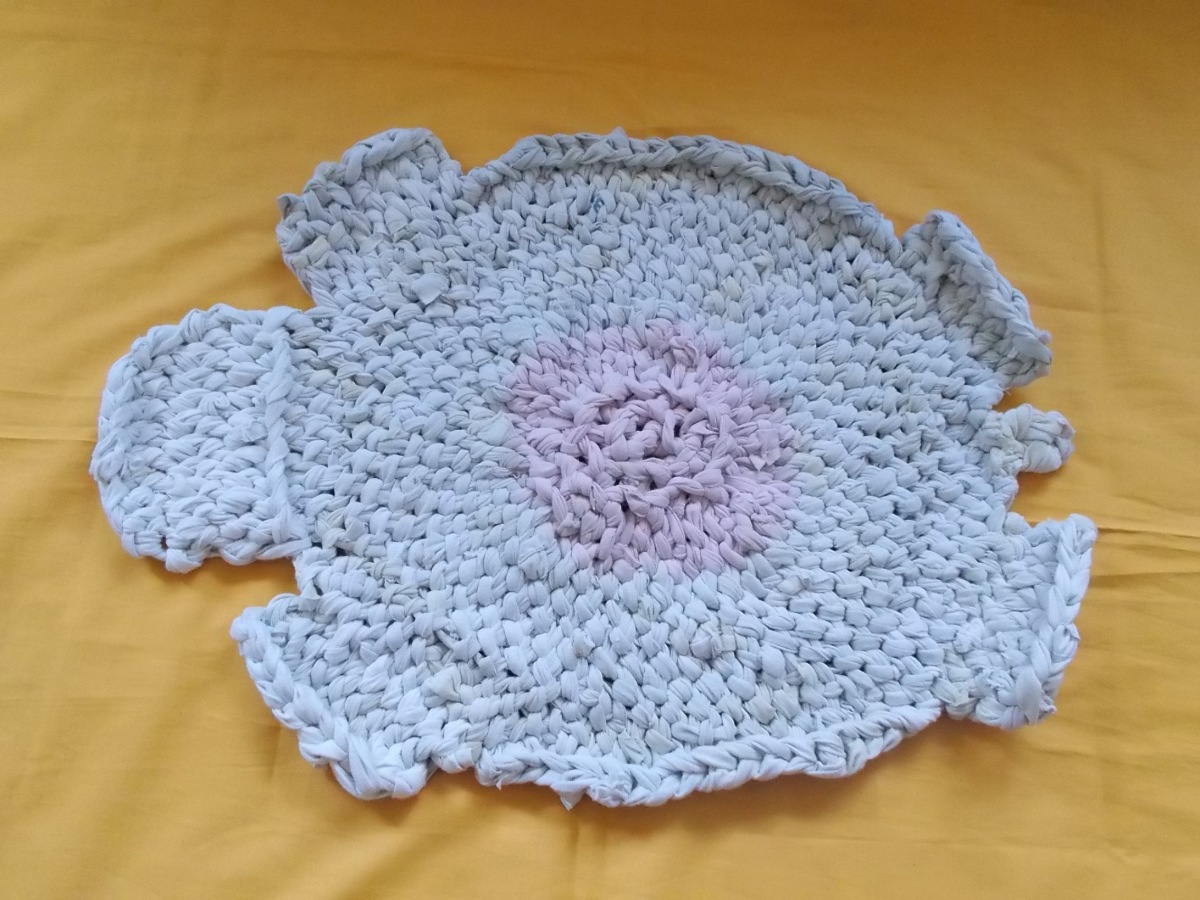
Today’s blog post features another two upcycled turtle/tortoise rag rugs which  we made from old T-shirts or ‘tarn’ (T-shirt yarn). 🙂

The one in the blue-green shades measures about 50cm in diameter, the other one in reddish colours is a bit smaller and measures about 40cm in diameter.

Both rag rugs were made from 7 T-shirts (or jersey garments respectively). For a fat bathroom rug, tarn of 4cm/1.5inch width is best. You can also use tarn of a smaller width, but then your rug will be rather thin and not so comfortable to stand on. For one rug you will need about 7 T-shirts (or other jersey garments); if the garments have long sleeves or long legs, 6 pieces might be enough. If you want the turtle’s head and limbs to be of the same colour, then you will need 8 or 9 T-shirts.

The rugs were crocheted and it takes about 3.5 hours to make one (more if you have to cut your garments into tarn strips first). Use the tarn/colour you have the least material of for your central circle, and the tarn you have the most of for the edge of the rug.

(For a tutorial on how to make tarn, see a previous blog post of ours 🙂 ).


Upcycling: ‘Ethno’ shopping totes

DSCN1750

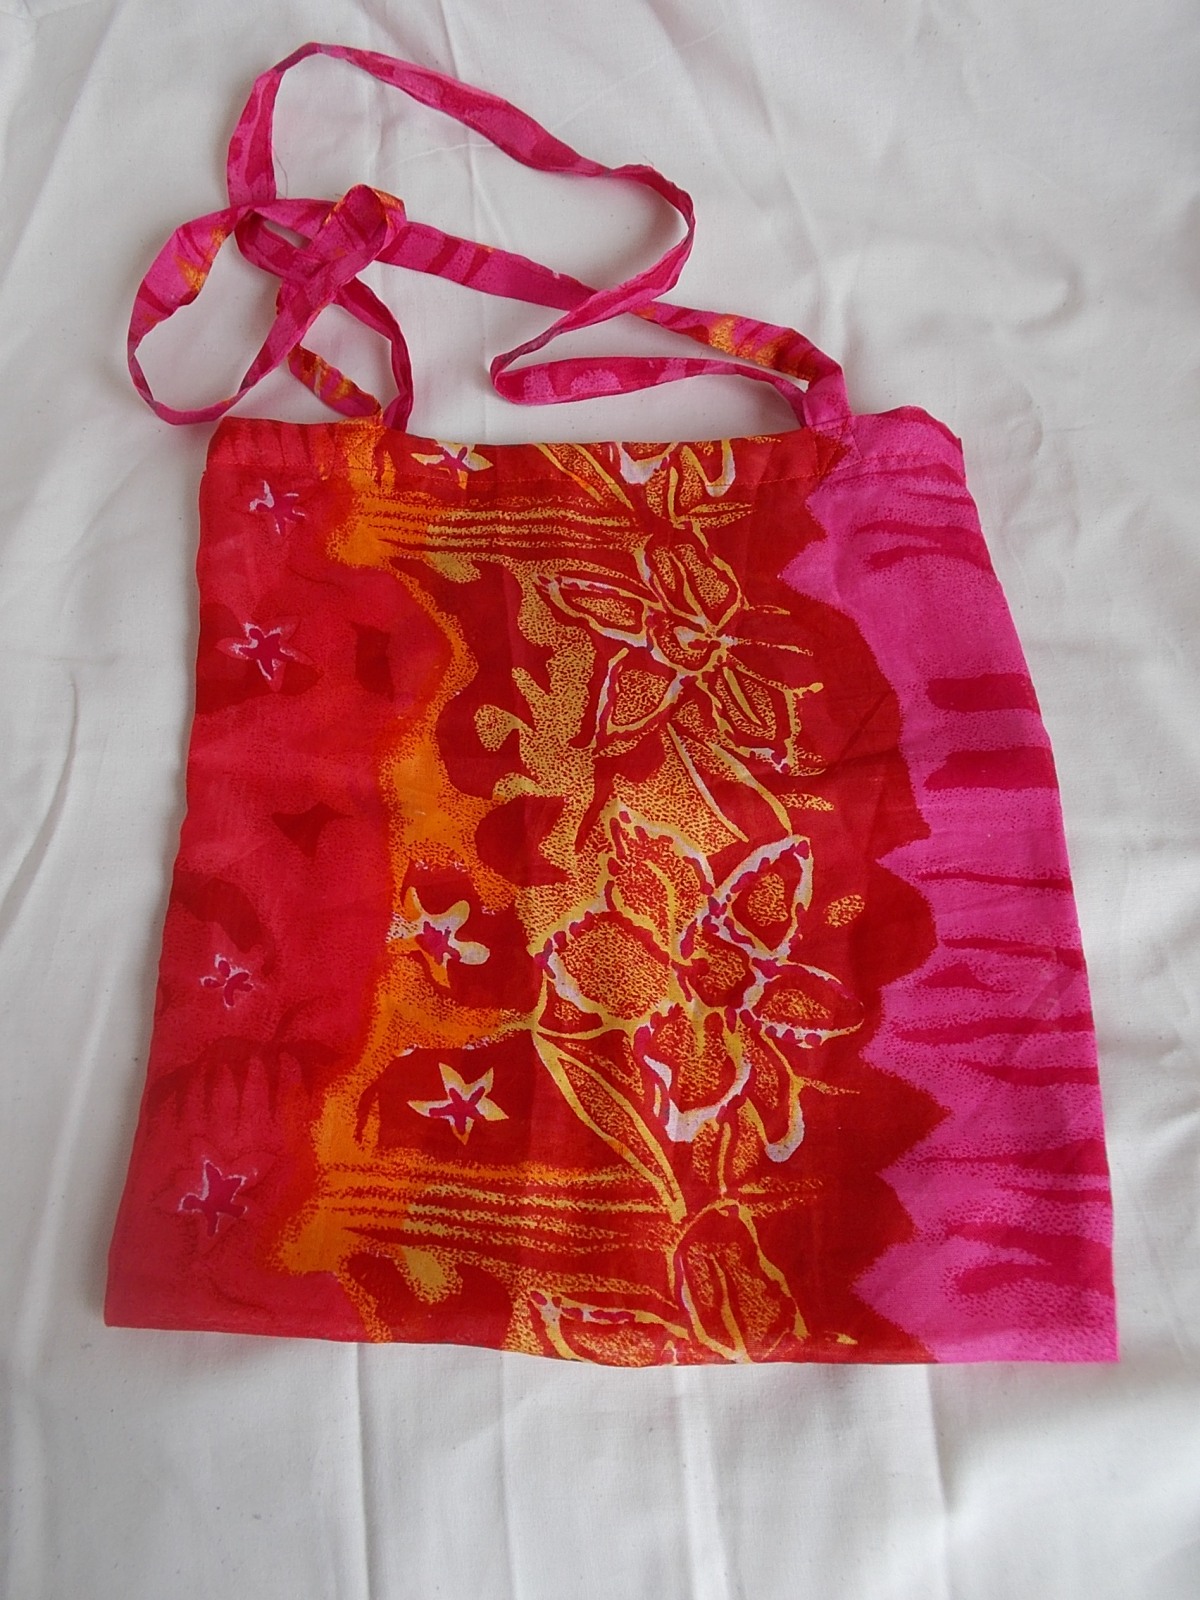
Today’s blog post features another upcycling project, namely some ethno shopping totes we made from a pareo. 🙂 The thin, lightweight polyester fabric was ideal for making shopping totes since they can be folded up and be carried around in every pocket, handbag or rucksack. In this way, you will always have a shopping bag to hand when being up and about without the need to use and buy a nasty, wasteful plastic bag. 🙂 Thus, it is an essential item for a ‘zero waste’-lifestyle.

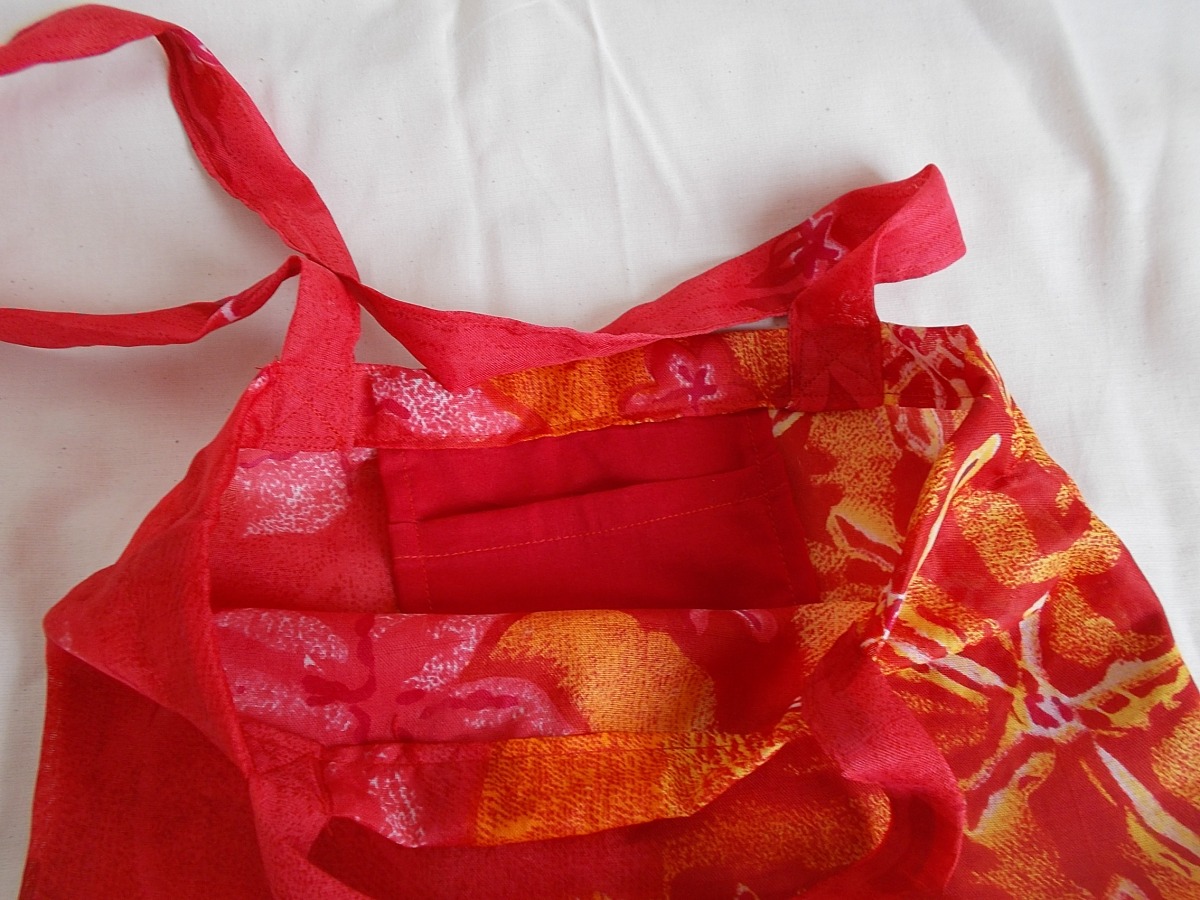
We used a pareo, which we had discovered on a fleamarket, because of its beautiful print, but you can also use any other thin, but sturdy fabric for making a tote, e.g. most scarves can be used for this purpose. To make the bag even more useful, we added a small cotton interior pocket – for keeping coins, keys, a pencil, etc. 🙂

DSCN1758

Instructions for making a simple tote:

  1. Cut off two strips of fabric along the length of your fabric (scarf, etc.) which ought to be about 5 cm/2 inch wide. These will be your straps. For long straps (like we used for our totes) that will fit comfortably around your shoulders, strips of about 85 cm/33.5 inch will be good.
  2. Sew these strips together.
  3. For the body of your tote you will need a long rectangle. Cut your fabric to the desired shape, then fold in the middle and sew both sides together.
  4. Now sew both straps to the top edge of your tote. Fold the top edge inside and make a wide seam. Your tote is ready now.
  5. If you can sew well, you can make a little pocket out of some spare fabric and incorporate it into the top seam.

DSCN1756


Upcycling T-shirts: How to make tarn (tutorial)

Today’s blog post takes up the topic of last week’s post, namely upcycling T-shirts and how to make ‘tarn‘, i.e. yarn made from old T-shirts. 🙂 All you need are some old T-shirts (or other jersey garments) and a pair of scissors.

Tutorial : How to make tarn

  1. First cut off any parts of your T-shirts, jersey leggins, etc. which you do not want to have in your finished yarn: normally these are the tags inside the garments, the seams and edges.

DSCN1701

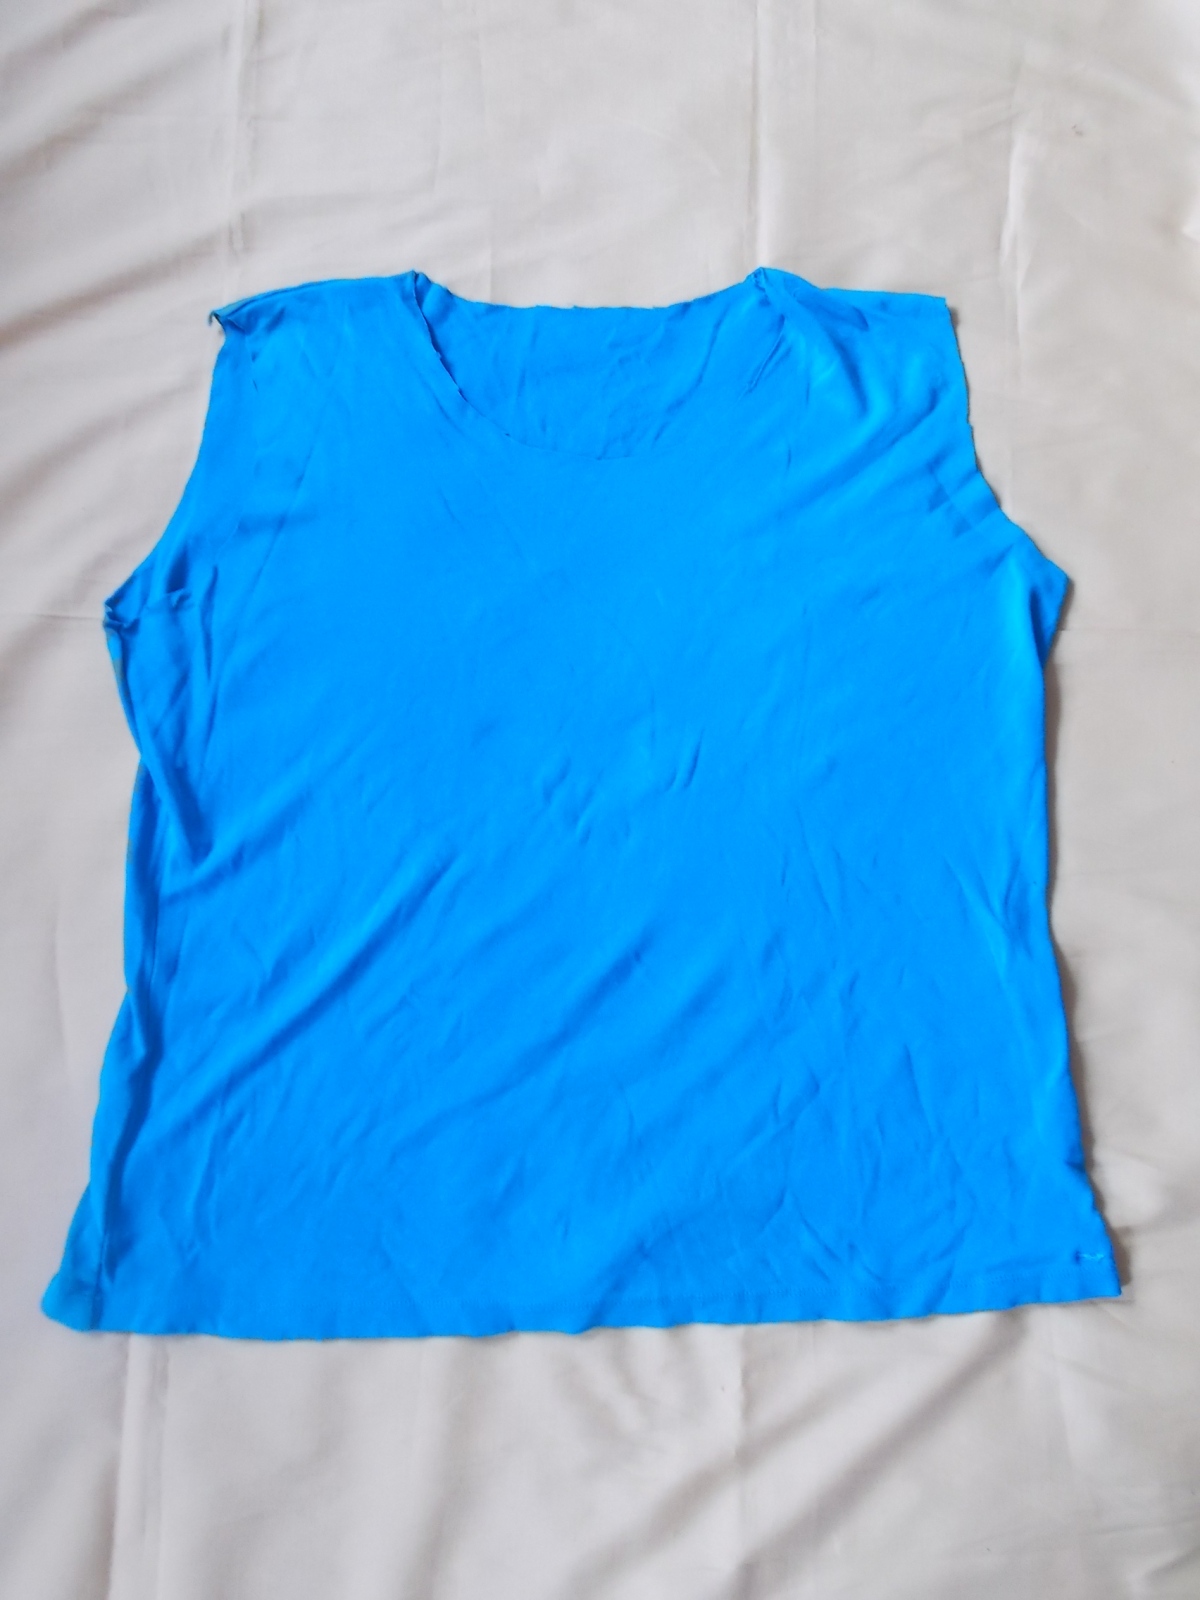
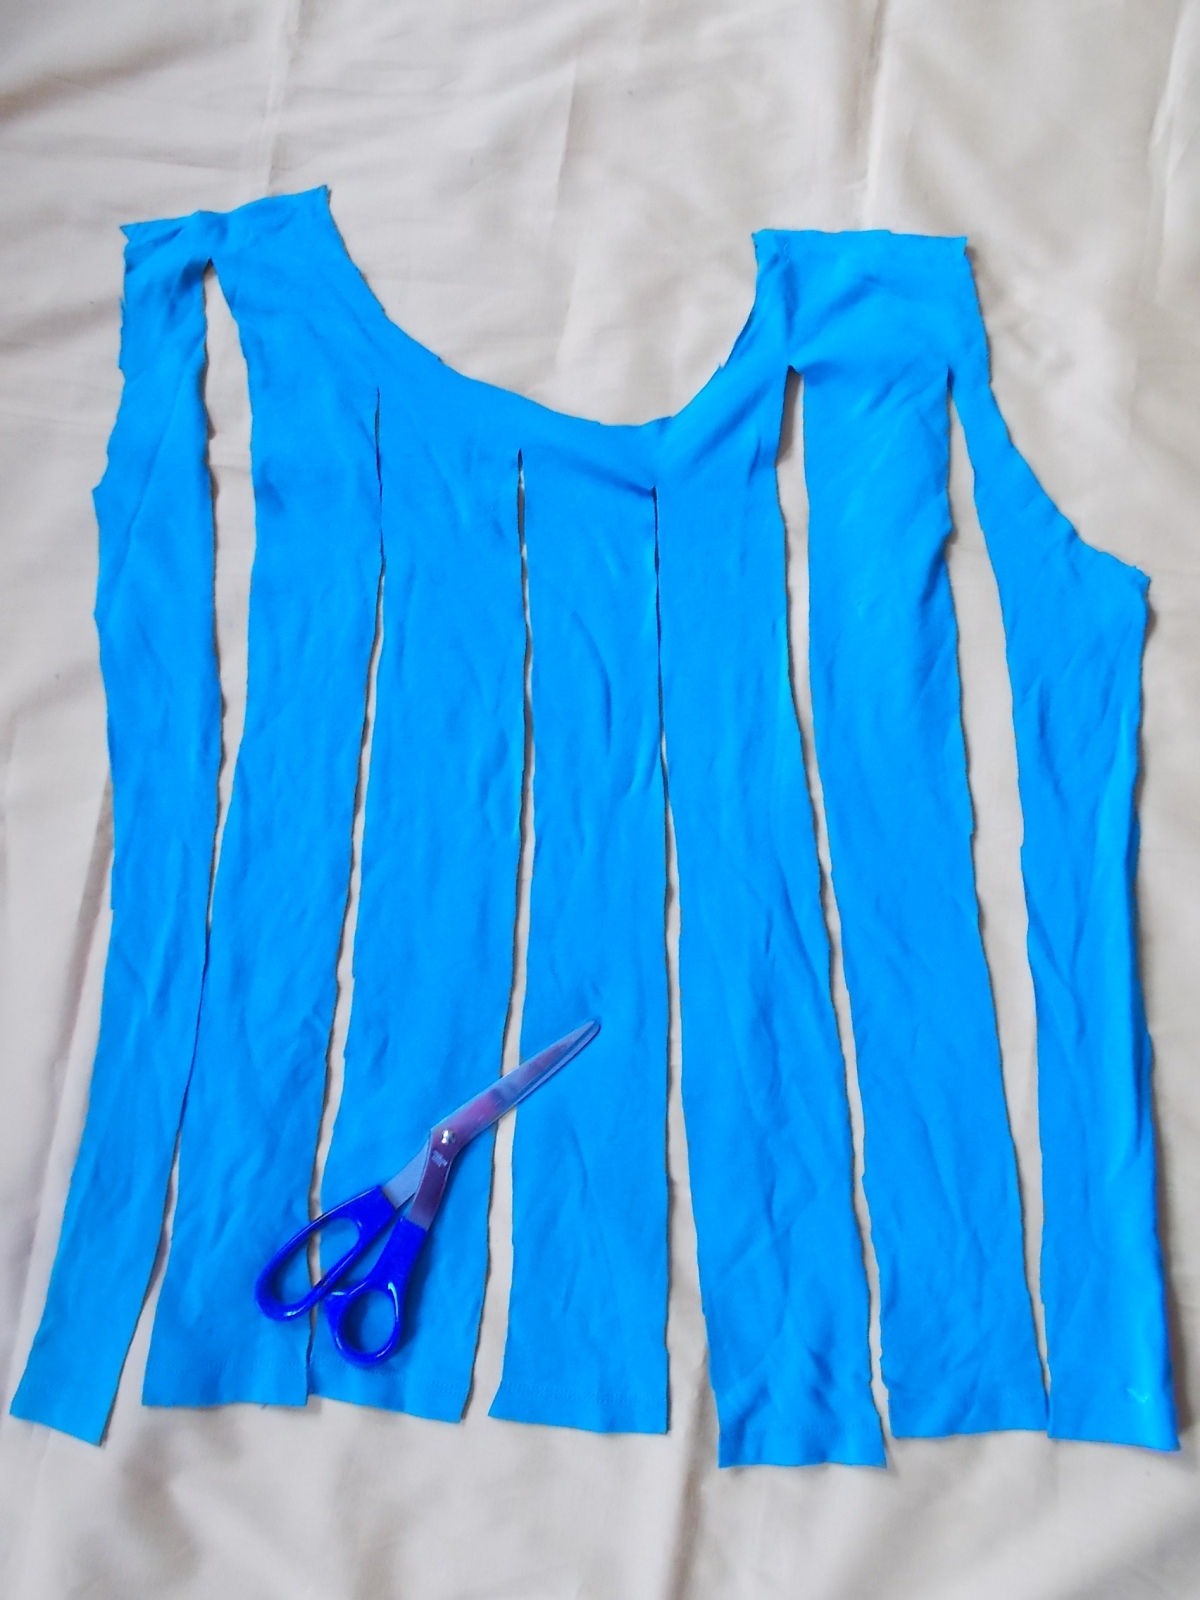
2. Depending on what sort of item you want to make from your tarn, you first need to determine the width of your tarn. A good width for a thick, heavy bathroom rug is a tarn width of about 4 cm (1.6 inch), for a kitchen potholder 3 cm (1.2 inch) and for thinner items a width of about 1 cm (0.4 inch). When you have found the correct tarn width for your intended project, cut parallel strips into the fabric which measure double (!) the width of your finished tarn: so for a 4cm -tarn, you will need to cut strips that are 8cm wide, for a 2cm-tarn, strips measuring 4cm, etc. Important: Don’t cut the strips through the whole length of the fabric, but leave a continous edge of fabric at the far side of your shirt!

DSCN1704

3. When you have cut the fabric into parallel strips (of double width) with a continous edge at one side, turn your garment upside down and cut the strips into half from the other side, but again leaving a continous edge at the top.

DSCN1706

Your original garment ought now to be a long strip of tarn (T-shirt yarn) 🙂 . If you have lengths of tarn from several pieces of the garment, sew these together at one end to make a long string of tarn, then roll up your tarn into a ball. Knit or crochet the item you want to make from it. 🙂

Upcycling: Turtle ‘tarn’ rug (how to upcycle T-shirts)

DSCN1623

Today’s blog post features a turtle or tortoise rug which we crocheted from old T-shirts. 🙂

To do this, you will first have to make ‘tarn‘, which is short for T-shirt yarn. To make tarn, you will need several old T-shirts. First cut off all the parts that you do not want to have in your yarn, like the edge of the neck or any seam. Then cut the T-shirt into stripes of roughly the same width: for tarn that is about 1 cm (0.35 inch) wide (which makes a thin rug or potholder), cut parallel stripes into the T-shirt from one side that are 2 cm (0.7 inch) apart. However, it is important (!) that you don’t cut the T-shirt through the whole length but leave a continuous edge at the far side (your half-cut tarn ought to look a bit like a comb – one continuous edge from which the cut stripes originate). When you have cut the whole width of your T-shirt, turn your ‘comb-shaped’ T-shirt around, the continuous edge now facing towards you. Each of the stripes is still 2 cm (o.7inch) wide. Now cut these 2cm-wide stripes in half, starting from the continuous edge and leaving another continuous edge at the end of each stripe, so that you will have a continuous yarn. (If you cut the stripes through by accident or error, you will have to sew them together into a long piece of yarn!). If you want to have a really thick rug, make thicker tarn: our rug in the photo was made from tarn that is 4cm wide (1.8 inch), so each initial stripe we cut into the T-shirt was 8cm (3.25inch) wide. The turtle rug was made from 5 T-shirts (size L).

When you have made your tarn, crochet or knit your tarn into your desired shape, mixing and matching tarn of different colours as you please, e.g. creating a rainbow or stripe design. 🙂